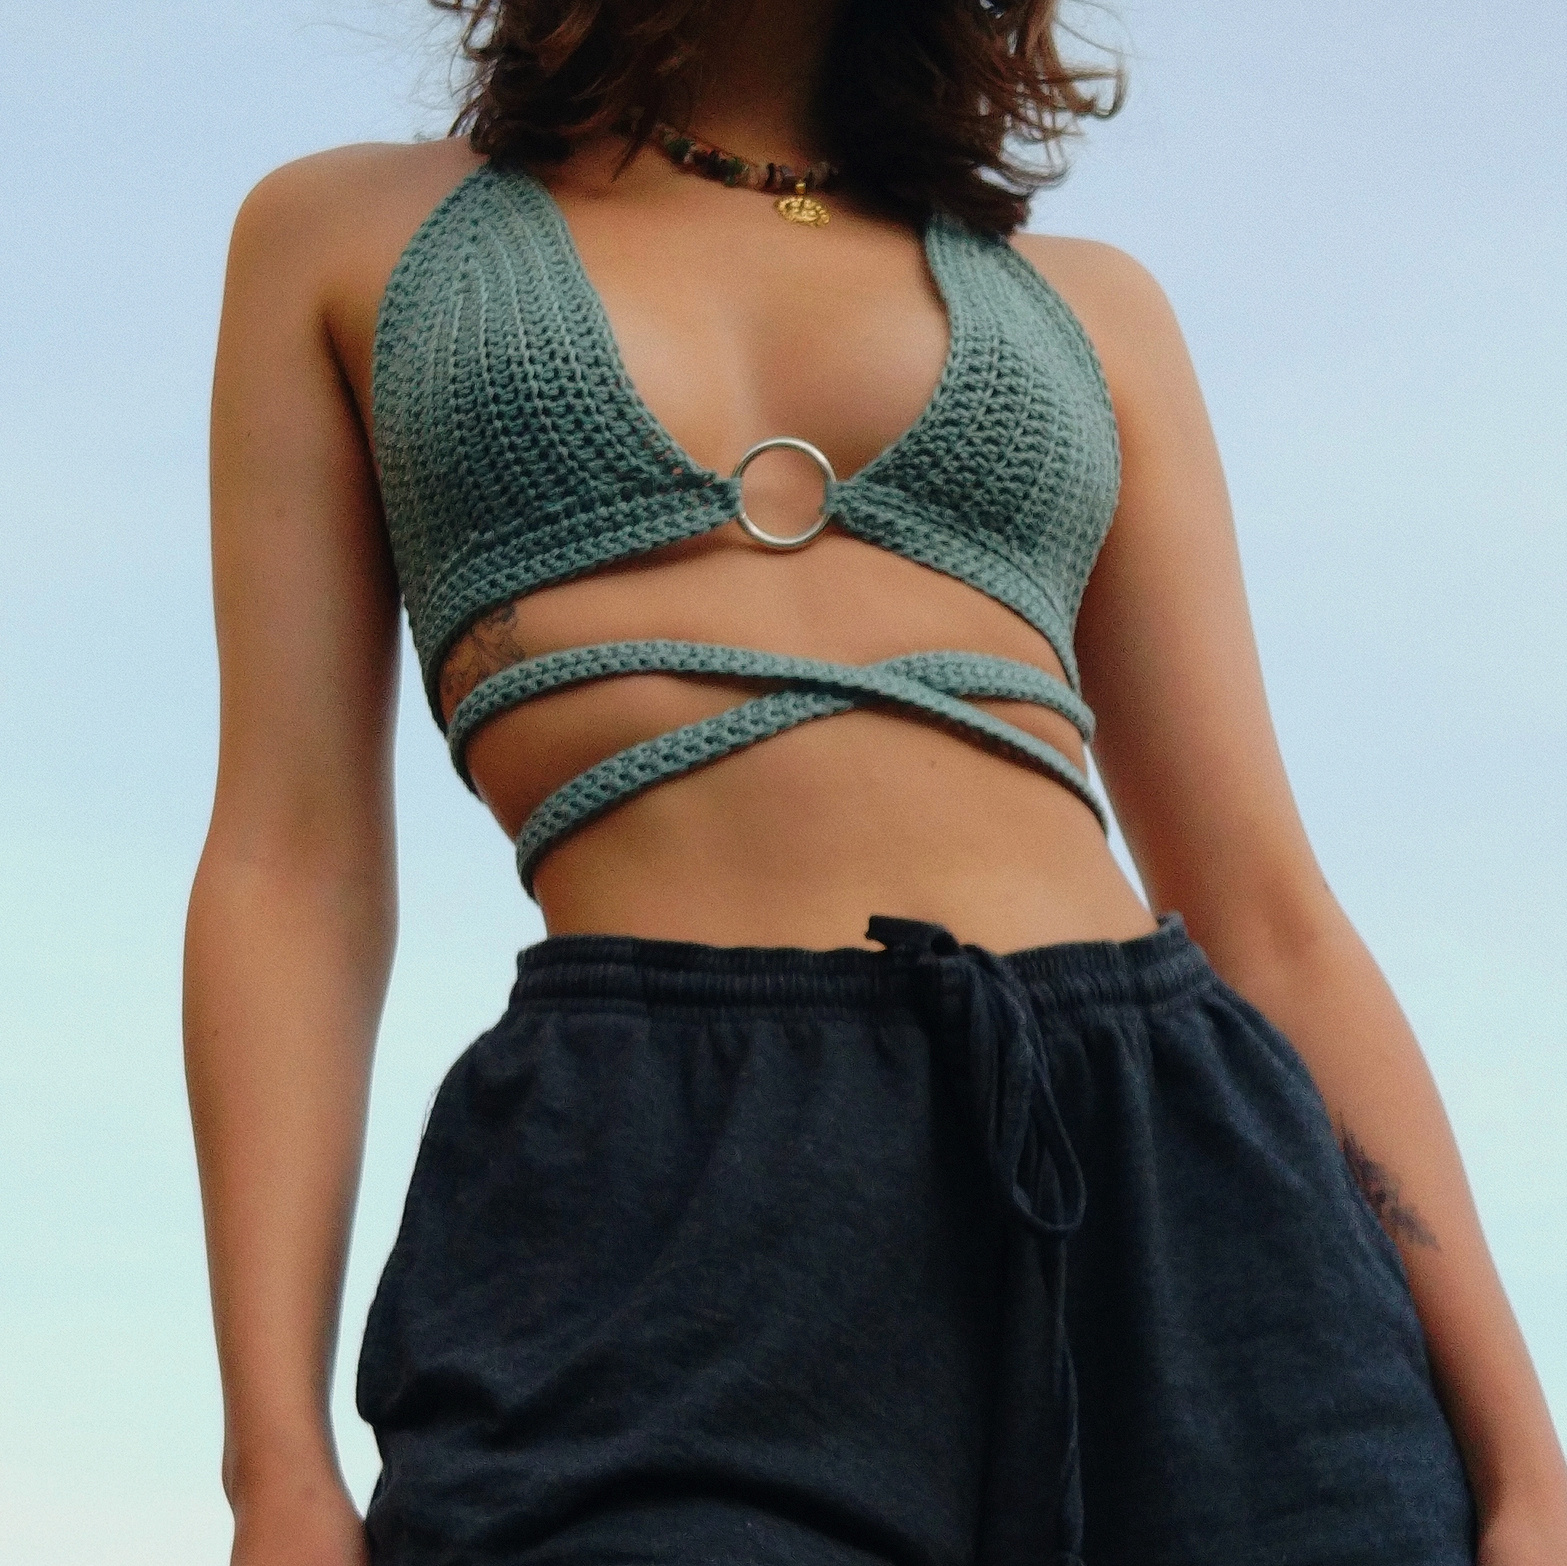
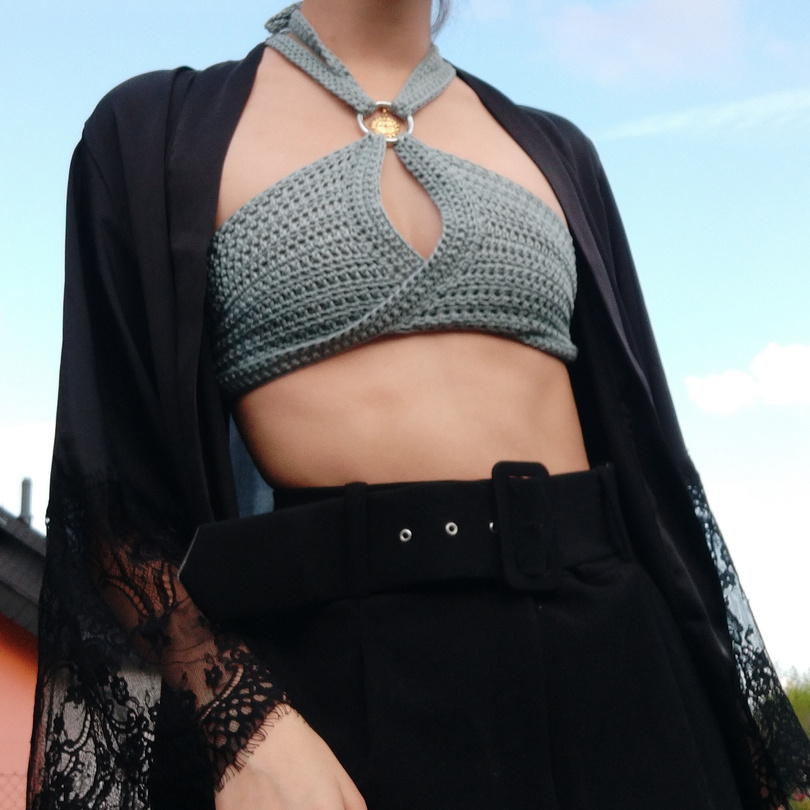
Arachne Top Crochet Pattern
Materials for Your Arachne Crochet Top
To create your custom-fit Arachne Top, gather the following supplies:
- Any weight yarn (DK cotton yarn was used in the original pattern example for a comfortable finish).
- A crochet hook appropriate for your chosen yarn weight (a 3.5mm hook was used with DK cotton).
- Measuring tape for accurate sizing.
- Scissors.
- Tapestry needle for weaving in loose ends.
- A small decorative ring (wood, metal, or plastic work well). A ring with a diameter of 3-4 cm (~1.2-1.6 inches) is recommended for the best look and functionality.
Crochet Abbreviations Used
Familiarize yourself with these standard crochet abbreviations for this pattern:
- Hdc: Half double crochet
- Sc: Single crochet
- Sl st: Slip stitch
- Ch: Chain
Customizing Your Fit: Measurements for the Perfect Crochet Bra Cup
Achieving the perfect fit for your handmade crochet top cups relies on two key personal measurements. Take these carefully before you begin crocheting:
- Measurement A: From underbust to nipple. This determines the initial height of your cup.
- Measurement B: Width of breast at the bottom. This guides how many rows you’ll crochet to achieve the correct cup width.
(Note: Gauge is not explicitly provided as this is a custom-fit pattern based on personal measurements and chosen yarn/hook.)
Arachne Crochet Top Pattern: Step-by-Step Instructions
Follow these detailed steps to crochet your beautiful Arachne top. This pattern starts with crafting the cups, which form the core of your unique garment.
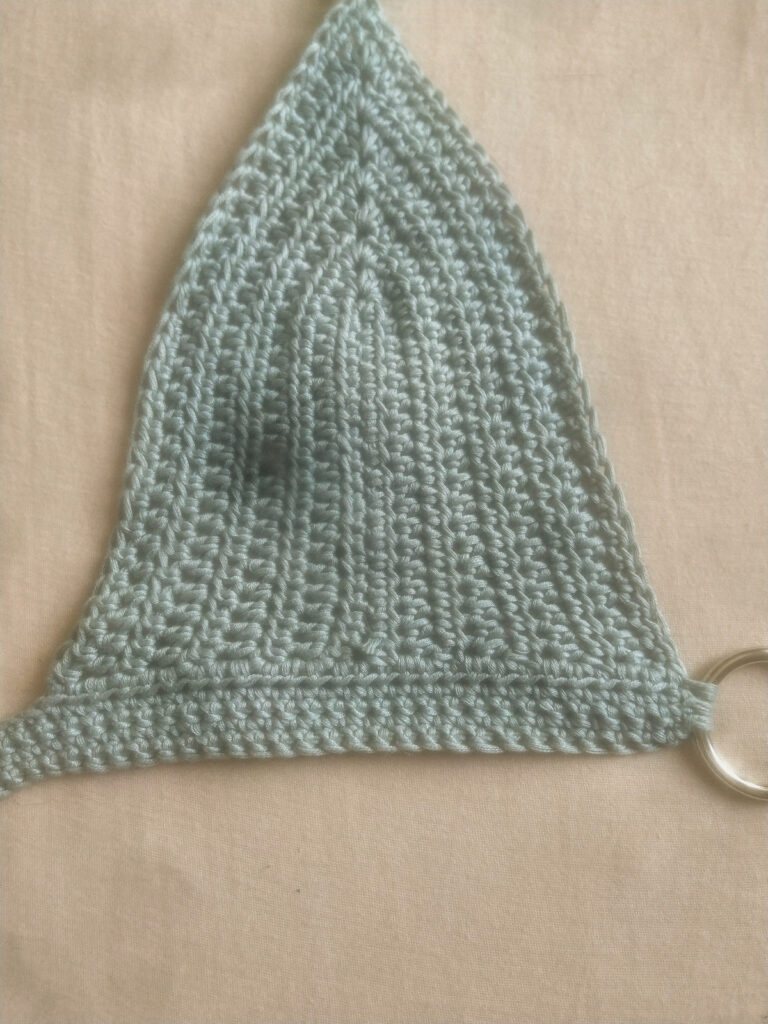
Crochet Cup Construction
You will create two identical crochet cups for your top. The sizing is custom to ensure a perfect fit tailored just for you.
Begin by making a starting chain that equals the length of your Measurement A.

Row 1: Establishing the First Row
Hdc in the second chain from your hook and in each chain until you reach the very last chain. In this final chain, work (2 Hdc, Ch 1, 2 Hdc) all into the same stitch. Now, working along the opposite side of your starting chain, Hdc in each chain until you reach the end. Turn your work.
Row 2: Shaping the Cup
Chain 1, then Hdc in each stitch until you reach the Ch 1 space from the previous row. In the Ch 1 space, work (2 Hdc, Ch 1, 2 Hdc). Continue by Hdc in each stitch until the end of the row. Turn your work.
Rows 3 and On: Continuing Cup Growth
Repeat Row 2 until the bottom width of your cup is one row away from matching your Measurement B. This ensures the cup will comfortably cover the width of your breast.

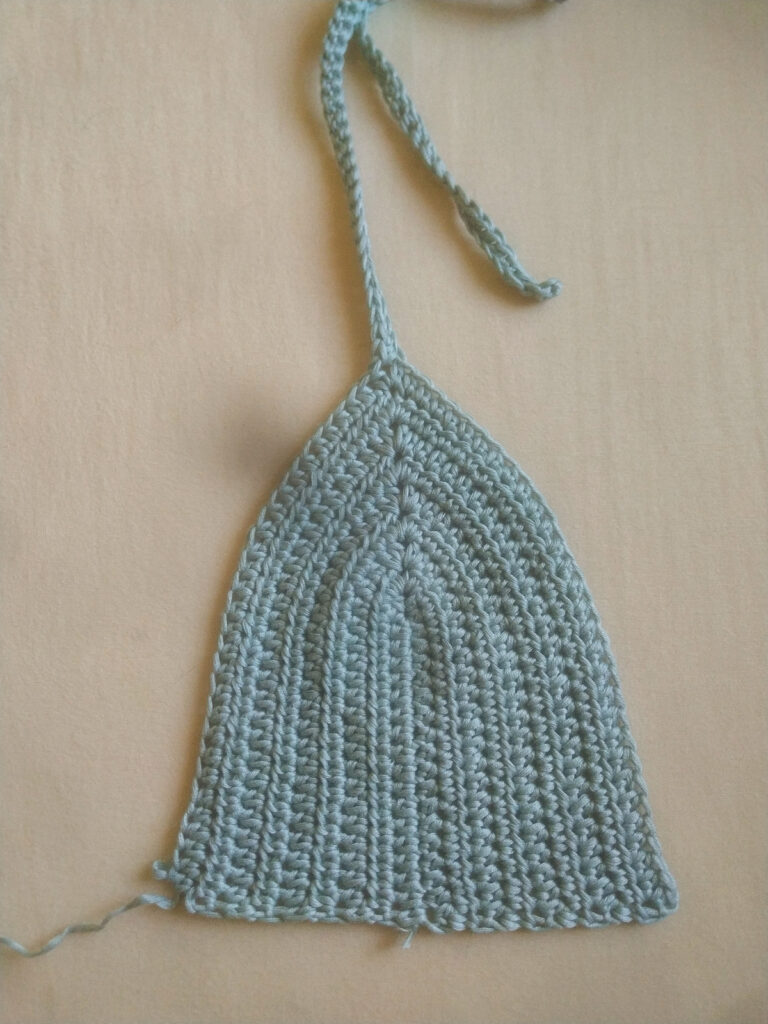
Last Row: Adding the Strap Beginning
Repeat Row 2 until you reach the Ch 1 space. Work 2 Hdc into the Ch 1 space. Now, Chain 70 (or make this chain as long as necessary for your desired strap length). Sc into the first back bump of the chain from your hook and then in each back bump until you reach the Ch 1 space. Work 2 Hdc into the Ch 1 space and then Hdc in each stitch until the end of the row. Do not fasten off!
Note for the Second Cup: When making your second cup, follow all the same steps. However, when you reach the end of the Last Row, instead of continuing directly, fasten off. Then, attach your yarn to the opposite side of the cup. This ensures both cups will be facing the correct “right side up” when joined, allowing for seamless attachment of the decorative ring and strap.
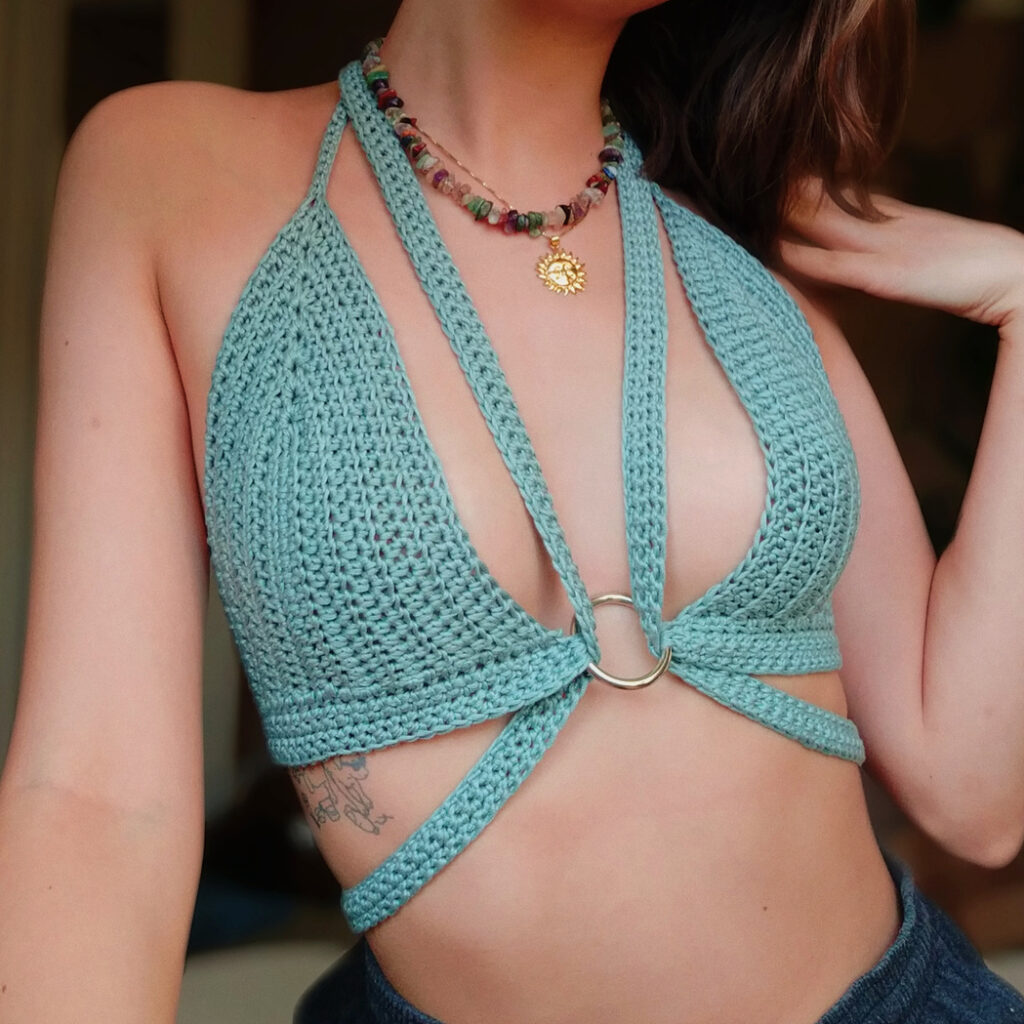
Attaching the Decorative Ring and Crafting the Straps
This section guides you through connecting your crochet cups with the decorative ring and forming the adjustable straps of your Arachne top.
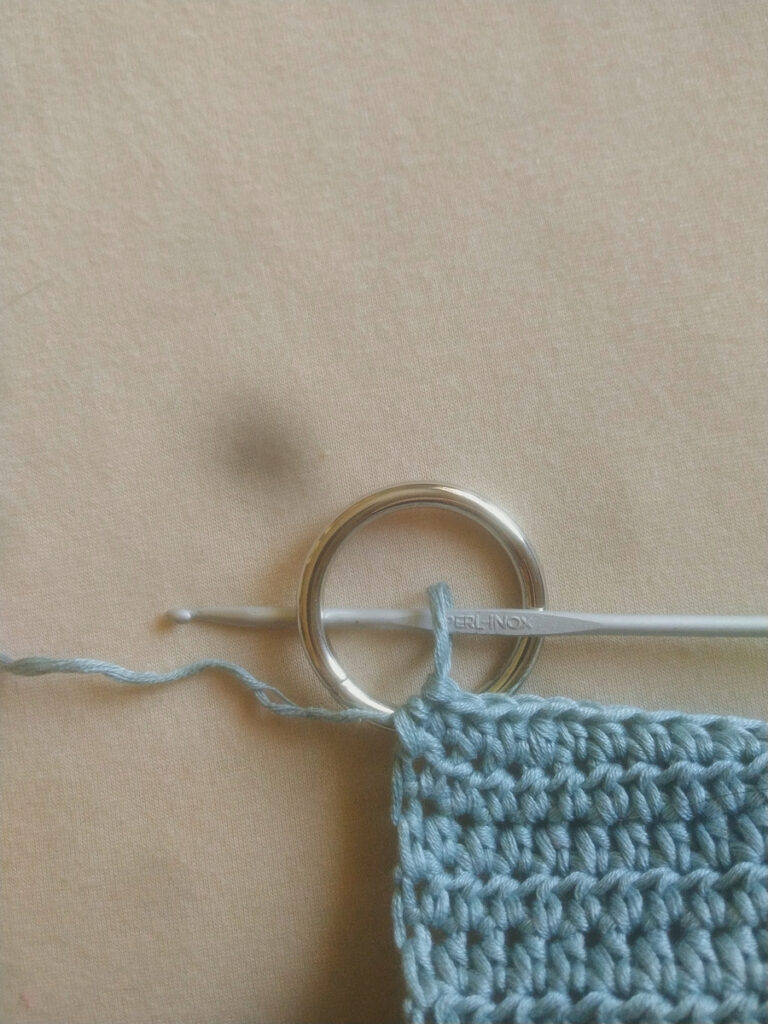
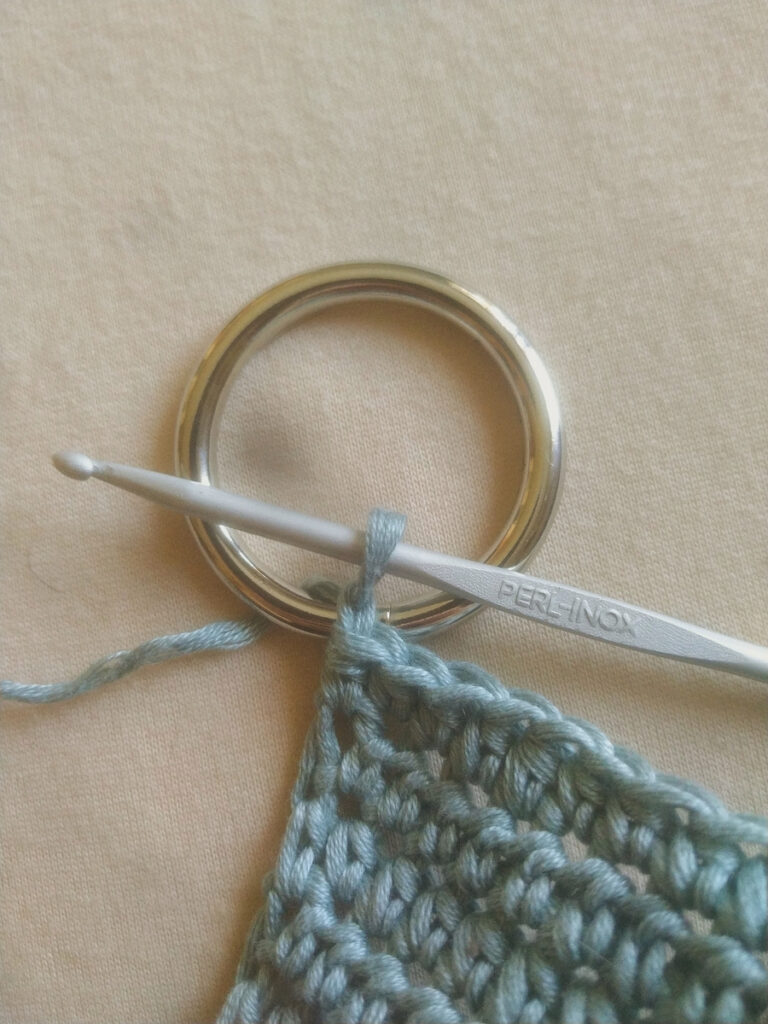
Connecting the First Cup to the Ring
With your yarn still attached from the first cup, you will now connect it to your decorative ring. To do this, insert your crochet hook through the ring, grab the working yarn, pull it through the ring, and make a slip stitch (Sl st) to secure it. This effectively attaches your cup to the ring.
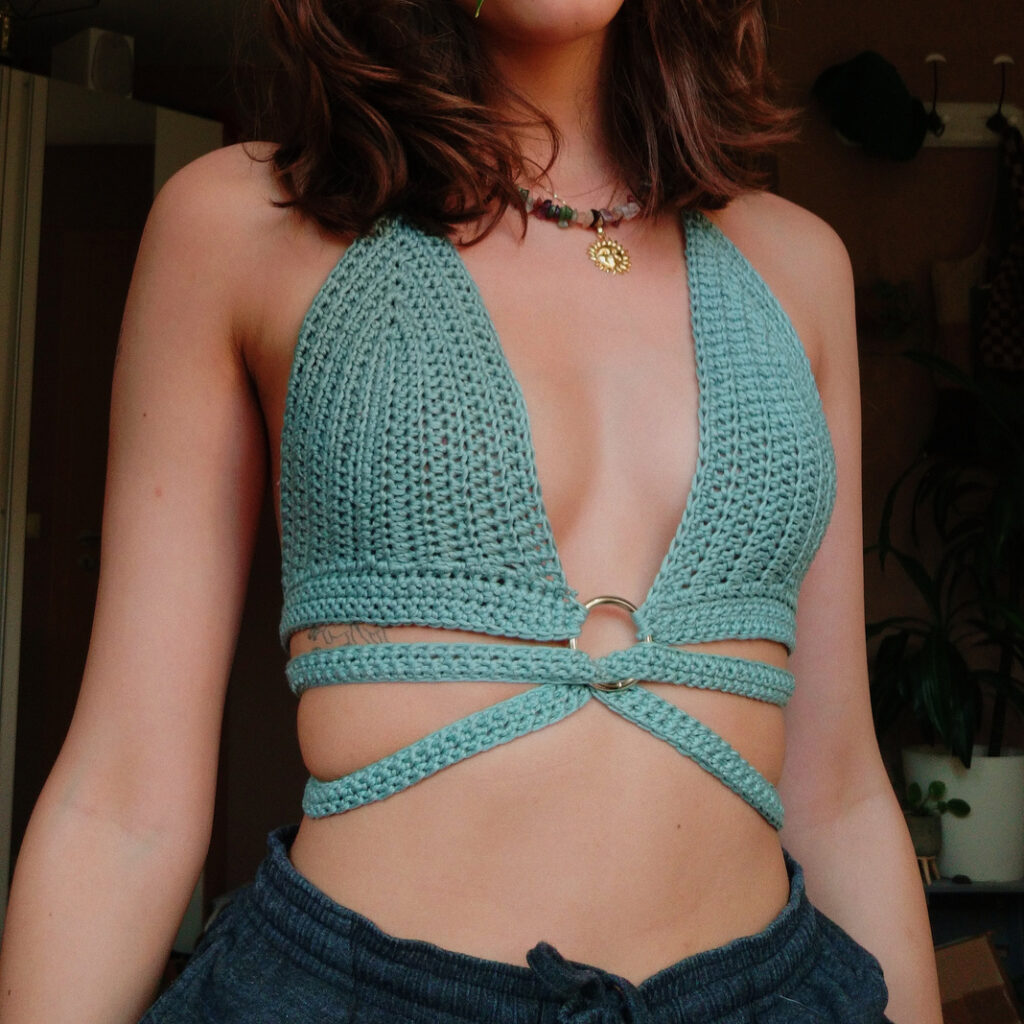
Creating the Underbust Band and Tie Straps
Chain 1, then Hdc across the underside of your cup, working towards the other side where the second cup will attach. After completing the Hdc stitches across the cup, make a long chain for the strap. This chain should be long enough to wrap around your stomach twice, allowing for various tying styles (a chain of 200 was suggested as an example). Add 1 extra chain, then Sc into the second chain from your hook and continue Sc across the entire long chain you just made. Continue to Sc across the underside of your cup, working towards the decorative ring again.
Connecting the Second Cup and Completing the Straps
When you reach the decorative ring again, you will attach the strap in the same manner as the first side. Insert your hook through the ring, grab the yarn, pull it through, and make a slip stitch (Sl st).
Start the next row by turning your work. To do this, you will need to put your hook completely through the ring to facilitate the turn. Chain 1 and Sc across the underside of your cup and along the strap again.
When you reach the end of your strap, Chain 1 and Sc the next round, repeating the same steps. You can add as many rows as you like, depending on how thick you want the strap to be (4 rows of Sc were made in the example for a sturdy and comfortable strap). When you finish the desired thickness for the first cup and strap, fasten off.
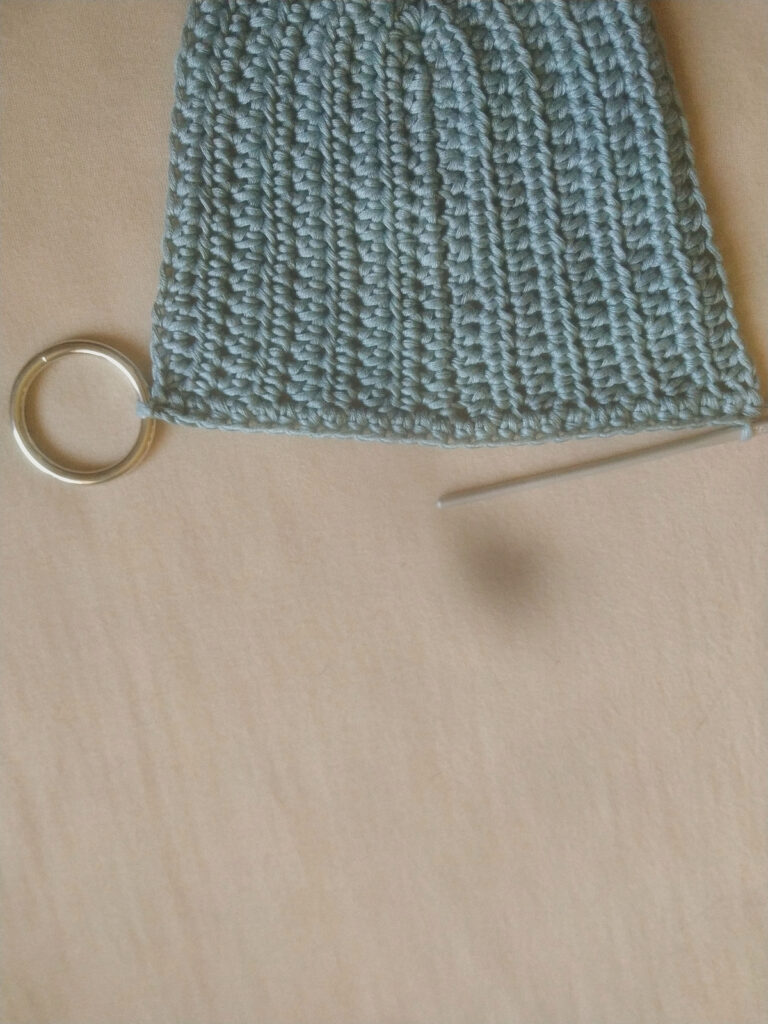
Assembly and Finishing Your Crochet Top
Once both cups and their respective straps are completed and fastened off, use your tapestry needle to carefully weave in all loose ends. This creates a clean and professional finish for your handmade Arachne Top.
Tips for Crochet Beginners
If you’re new to crochet, here are a few suggestions to help you create your custom-fit Arachne Top with confidence:
- Check Your Measurements: Double-check your Measurement A and B before starting, and try on your cup periodically to ensure it’s growing to the right size.
- Practice Stitches: If Hdc or Sc are new to you, practice them on a small swatch first to get comfortable with the tension and look of the stitches.
- Finding the Back Bump: When crocheting into the back bump of a chain (as in the last row for the strap), turn your chain slightly to reveal the horizontal “bump” on the back. Crocheting into these creates a neat, finished edge.
- Stitch Markers: Use stitch markers to mark your Ch 1 spaces on the cups; this can make it easier to locate them for increases in subsequent rows.