The Cutest Crochet Ghost Pattern Ever! 👻 Quick & Spooky Fun
The Ultimate No-Sew Crochet Ghost Pattern (Free & Easy!)
Get ready for spooky season! If you’ve been searching for the perfect, beginner-friendly Halloween project, you’ve just found it. Welcome to the ultimate guide for creating the most adorable, no-sew crochet ghost pattern you’ve ever seen! This isn’t just another pattern; it’s a comprehensive tutorial designed to help you craft a cuddly ghost plushie with personality, all without picking up a sewing needle. Perfect for seasoned crocheters looking for a quick, satisfying make and beginners eager to dive into the world of amigurumi, this little ghost is a joy to create.
In this detailed article, we will guide you through every single step, from selecting the plushest yarn to crocheting the final frilly flourish. We’ll demystify special stitches like the bobble stitch (for the cutest little arms!) and show you the secrets to a perfectly shaped, squishy ghost. Whether you’re making one for your Halloween decor, as a gift for a friend, or to sell at a local market, this free crochet ghost pattern is your ticket to a boo-tifully fun crafting experience. So, grab your hook and your favorite yarn—let’s bring this friendly spirit to life!

Why You’ll Love This Adorable Crochet Ghost Pattern
This isn’t just any amigurumi pattern; it’s a project designed for maximum enjoyment and adorable results. From its charming design to its beginner-friendly construction, there are so many reasons to fall in love with this particular crochet ghost pattern.
Perfect for Spooky Season & Beyond
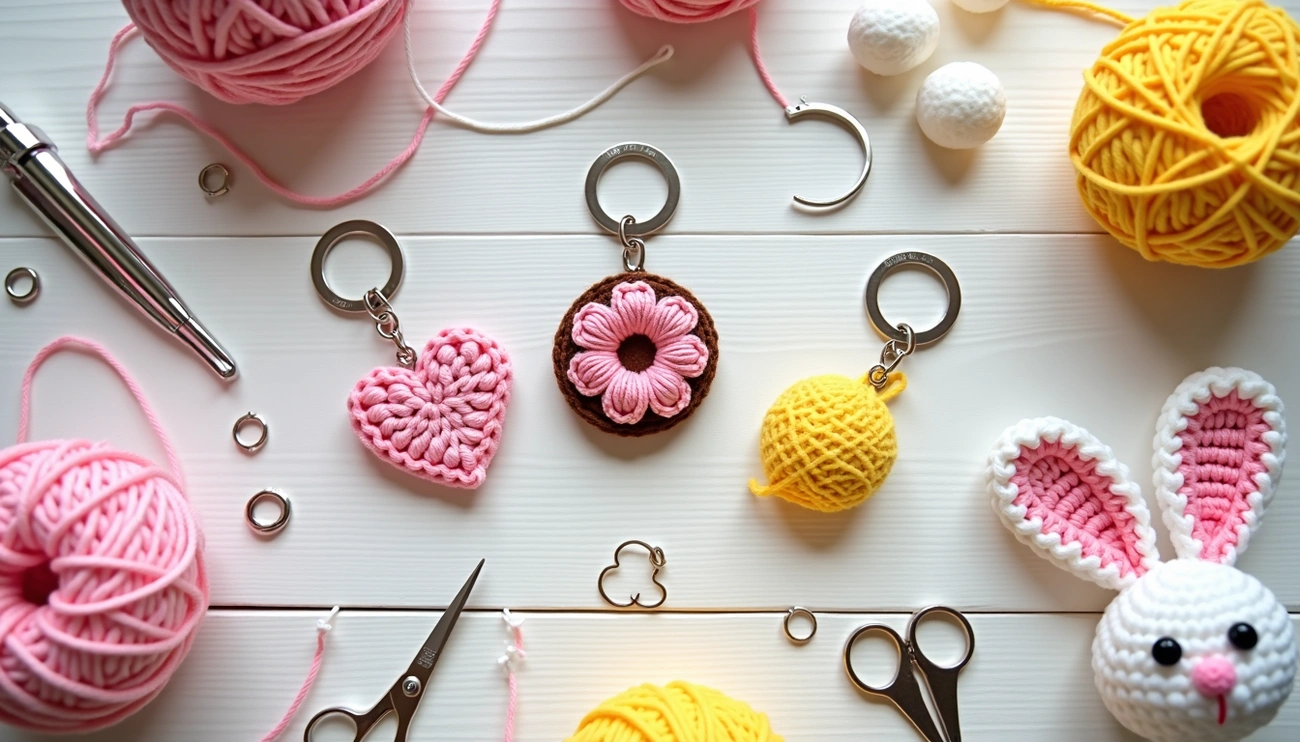
While this little ghost is the undisputed star of Halloween, its charm isn’t limited to one season. Imagine a sweet, pastel-colored ghost for a quirky nursery decoration or a tiny keychain version to hang on your bag year-round. This versatile crochet ghost pattern can be adapted for any occasion, making it a valuable addition to your pattern library. It’s a quick project, perfect for last-minute gifts or market prep.
A Fantastic Beginner-Friendly Amigurumi Project
Dipping your toes into amigurumi? This is the perfect place to start. The pattern primarily uses basic stitches like single crochet, increases, and decreases, which are the fundamental building blocks of most amigurumi projects. We’ll guide you through the more unique stitches step-by-step, making it a fantastic skill-builder that results in a finished object you can be proud of. The clear, round-by-round instructions are designed to prevent frustration and boost your confidence.
The Magic of a No-Sew Pattern
Let’s be honest: for many crocheters, attaching amigurumi parts is the least enjoyable part of the process. That’s the beauty of this crochet ghost pattern! The arms are cleverly created with bobble stitches worked directly into the body, and the entire ghost is crocheted in one continuous piece. This no-sew approach not only saves time but also creates a sturdier, cleaner-looking plushie, free from bulky seams.
Gathering Your Ghostly Materials
Before we begin our supernatural stitching, let’s gather all the necessary supplies. Having everything ready will ensure a smooth and enjoyable crafting session. The best part about this easy amigurumi ghost tutorial is that it uses common materials you might already have in your stash!
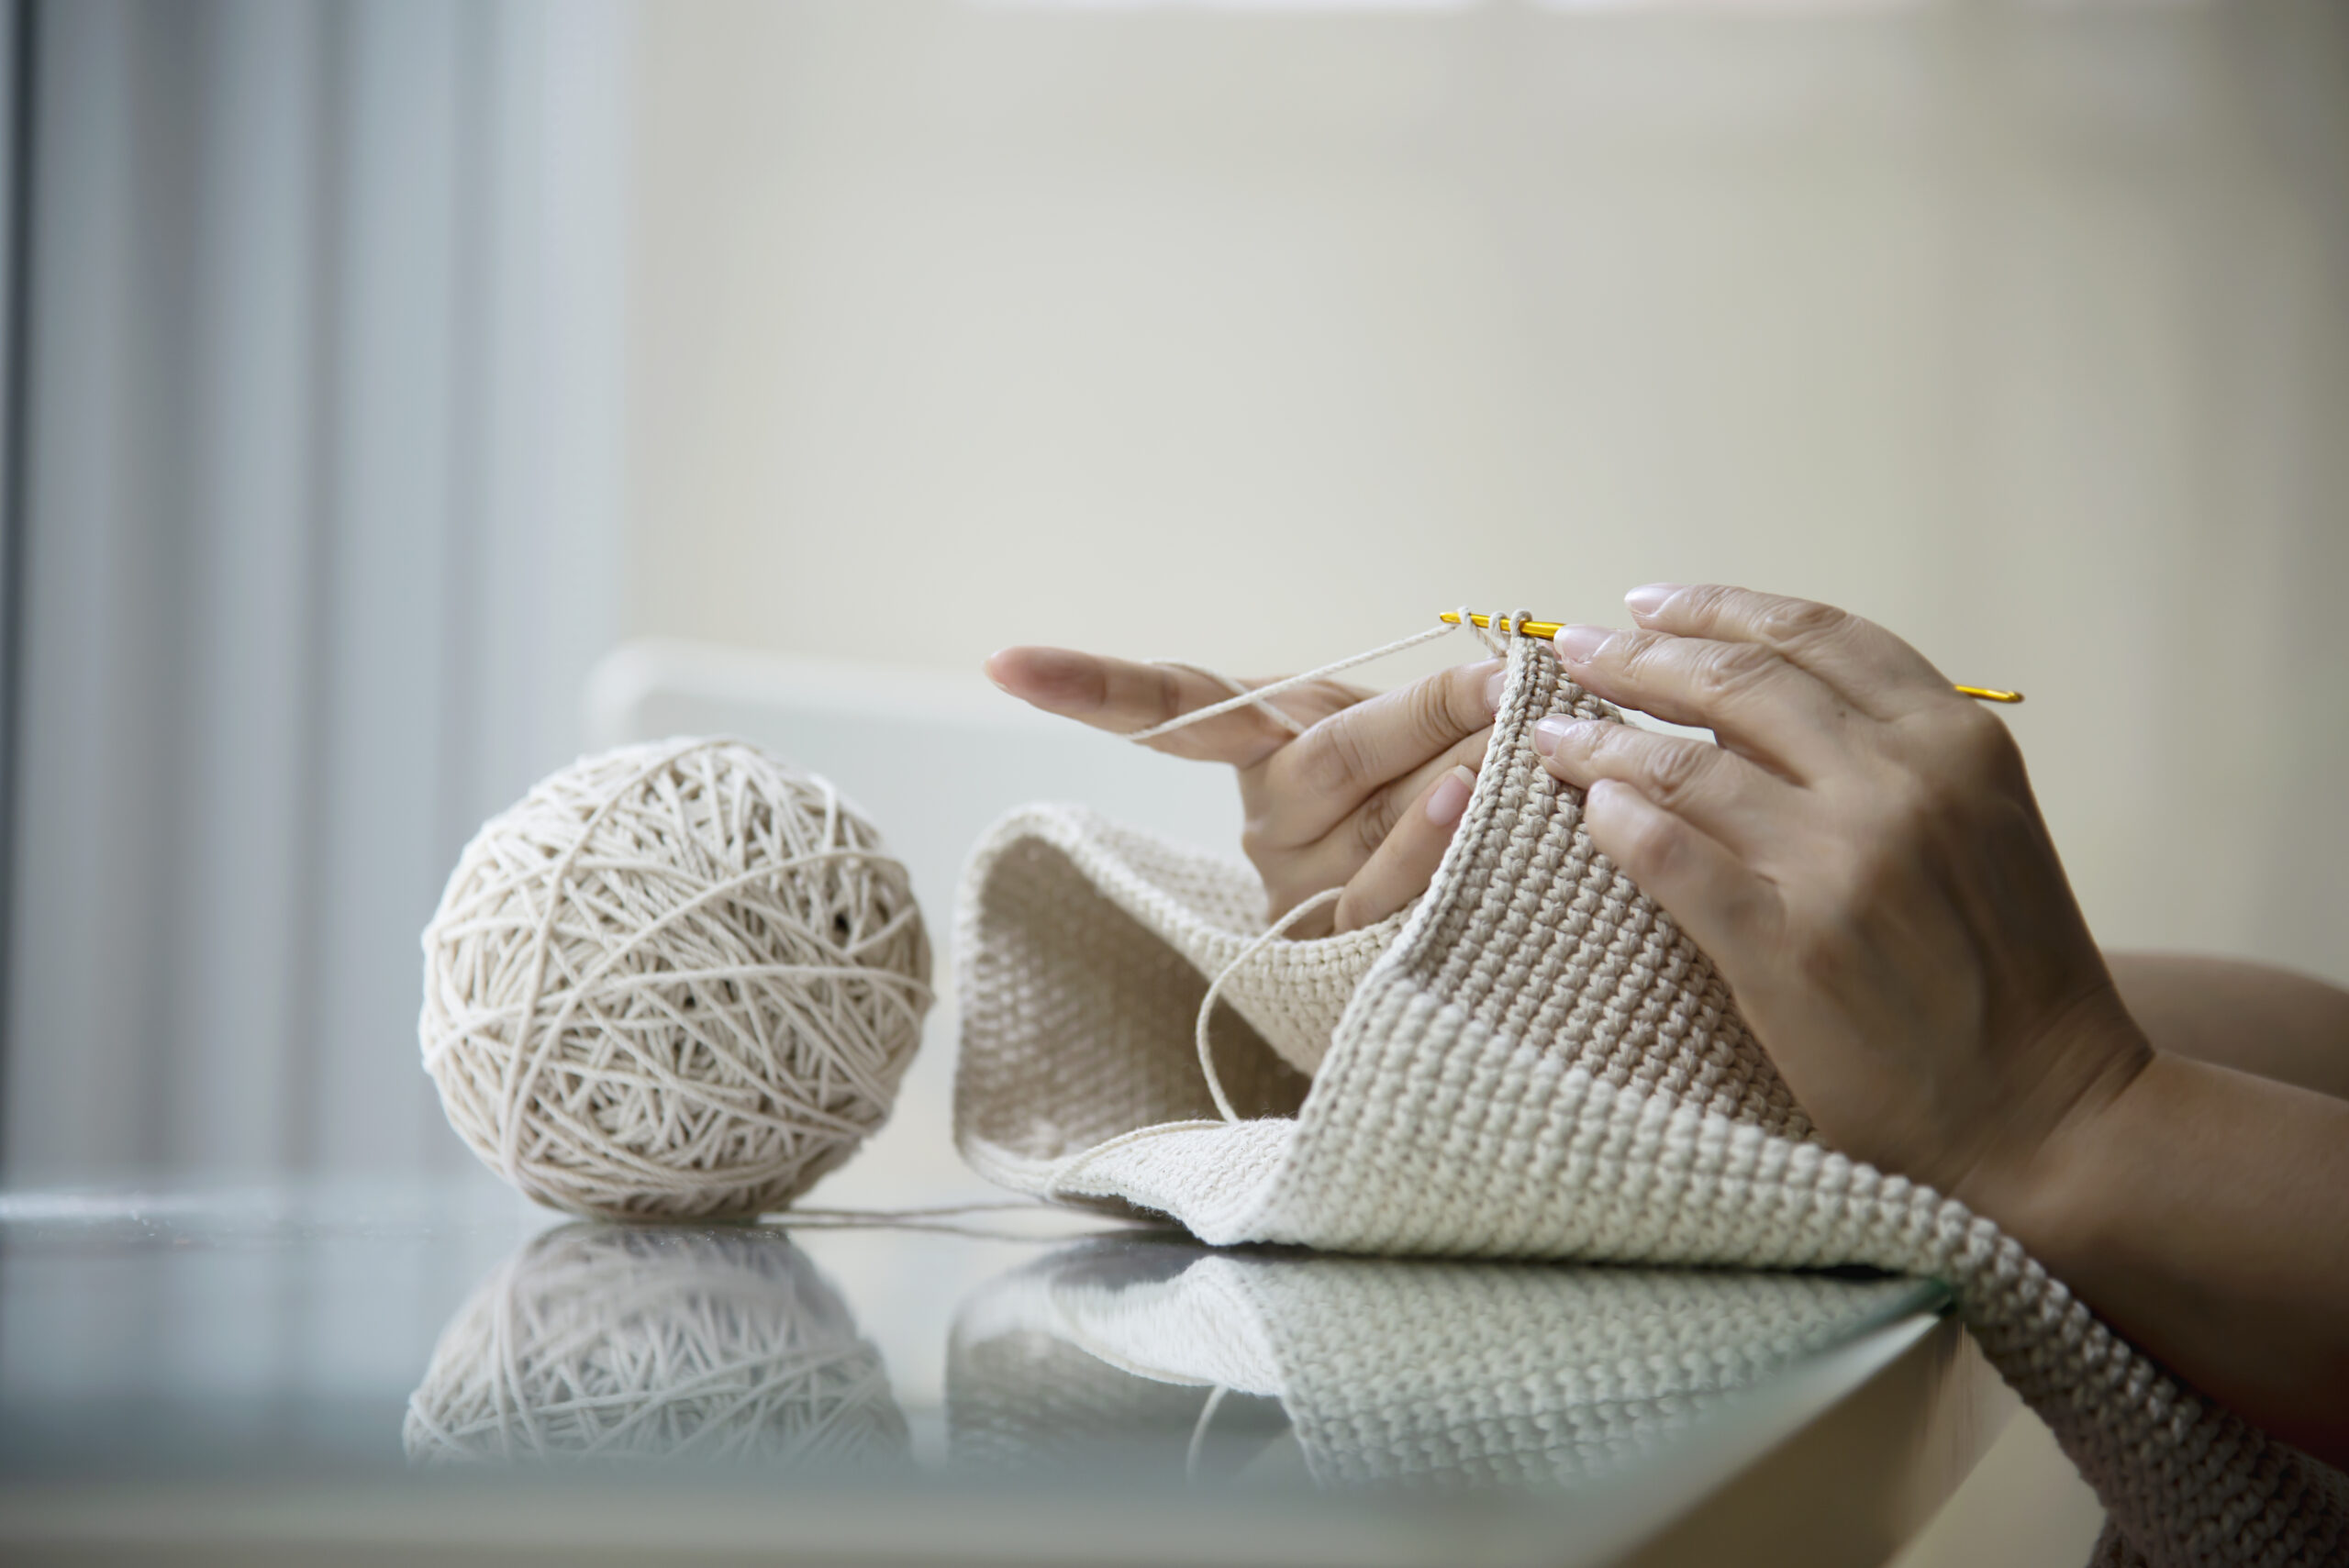
Choosing the Perfect Yarn
The yarn you choose will define your ghost’s personality. For a super soft, fluffy, and cuddly ghost, a chunky or super chunky plush yarn (like Bernat Blanket, Hobie Baby Snuggle, or Himalaya Dolphin Baby) is a fantastic choice. Keep in mind that while fluffy yarns are incredibly soft, the stitches can be harder to see, which might be a challenge for absolute beginners.
For a more defined, classic amigurumi look, a worsted weight cotton or acrylic yarn is an excellent alternative. This yarn type makes the stitches crisp and clear, which is very helpful when you’re learning. For this tutorial, we are using a plush, chunky yarn, but feel free to experiment!
- Main Color (White or other): One skein is more than enough.
- Pink (for blush): A small amount of scrap yarn, about two 6-inch strands.
Essential Tools Checklist
- Crochet Hook: A 5mm hook is recommended for the chunky plush yarn. Adjust your hook size to match your yarn’s recommendation (e.g., a 3mm or 3.5mm hook for worsted weight yarn).
- Safety Eyes: Two 12mm safety eyes. (Note: Safety eyes are not recommended for toys given to children under three years old. Consider embroidering the eyes instead for safety.)
- Poly-Fil Stuffing: For making your ghost plump and huggable.
- Tapestry Needle: For weaving in the final end.
- Stitch Markers: Essential for keeping track of your rounds, especially when working in a spiral.
- Scissors: For cutting your yarn.
Understanding the Stitches: Your Ghost-Making Glossary
This crochet ghost pattern uses a few key stitches and techniques. Here’s a quick rundown of the abbreviations and what they mean. Don’t worry, we’ll explain the special stitches in detail within the pattern itself!
- MR: Magic Ring (or Magic Circle)
- SC: Single Crochet
- INC: Increase (work 2 SC in the same stitch)
- DEC: Decrease (invisible decrease is recommended)
- HDC: Half Double Crochet
- DC: Double Crochet
- Sl St: Slip Stitch
- BLO: Back Loops Only
- FLO: Front Loops Only
- Bobble Stitch: A textured stitch used to create the arms.
The Complete Free Crochet Ghost Pattern: Step-by-Step
It’s time for the main event! Follow these instructions round by round to create your very own spooky-cute friend. We will be working in a continuous spiral, so don’t join your rounds unless instructed. Use a stitch marker in the last stitch of each round to keep your place.
Part 1: Crafting the Head and Body
Rounds 1-5: The Top of the Head
- Round 1: Start with 6 SC into a MR. (6 sts)
- Round 2: INC in each stitch around. (12 sts)
- Round 3: [1 SC, INC] repeat 6 times. (18 sts)
- Round 4: [2 SC, INC] repeat 6 times. (24 sts)
- Round 5: [3 SC, INC] repeat 6 times. (30 sts)
Rounds 6-10: Building the Body
- Rounds 6-10 (5 rounds): Work 1 SC in each stitch around. (30 sts)
At the end of Round 10, your piece will have formed a nice cup shape, which is the head of your ghost.
Part 2: Creating the No-Sew Arms (The Bobble Stitch Trick)
This round is where the magic happens! We’ll create two adorable, stubby arms using a bobble stitch without any sewing.
Round 11: The Magical Arm Round
- Work 7 SC.
- In the next stitch, create a Bobble Stitch for the first arm.
- How to do a 4 DC Bobble Stitch: Yarn over, insert hook into the stitch, yarn over and pull up a loop (3 loops on hook). Yarn over, pull through the first two loops (2 loops on hook). Repeat this process 3 more times in the same stitch. You will have 5 loops on your hook. Yarn over one last time and pull through all 5 loops. Give it a gentle push from the inside to make sure the bobble “pops” out.
- Work 13 SC. (Be sure to find the next stitch after the bobble; it can sometimes hide!)
- In the next stitch, create another Bobble Stitch for the second arm.
- Work 8 SC to finish the round. (30 sts)
You should now have two cute little arms on either side of your ghost’s body!
Part 3: Adding Personality – Eyes and Blush
Before we continue crocheting, this is the perfect time to give your ghost its face. It’s much easier to attach safety eyes and add details while the project is still open.
Perfect Eye Placement
- Grab your two 12mm safety eyes.
- The ideal placement is between Rounds 8 and 9.
- Count down from your MR to find Round 8. Place the first eye.
- Count about 6 stitches across and place the second eye. Use the bobble arms as a guide for symmetry.
- Once you’re happy with the placement, secure the washers on the back firmly.
An Optional Touch of Rosy Cheeks
A little blush adds a touch of sweetness. Take a 6-inch strand of pink yarn and your tapestry needle.
- Insert the needle from the inside out, one round below and slightly to the side of an eye.
- Go back in about two stitches over, creating a small horizontal line.
- You can go over it again to make the blush bolder.
- Flip the ghost inside out and tie the pink yarn ends in a secure knot. Trim the excess. Repeat for the other cheek.
Part 4: The Frilly Ghostly Bottom
Now we’ll continue with the body and create the iconic ghostly, wavy bottom.
Rounds 12-16: Tapering the Body
- Rounds 12-15 (4 rounds): Work 1 SC in each stitch around. (30 sts)
- Round 16: [3 SC, DEC] repeat 6 times. (24 sts)
Round 17: Crocheting the Ruffles in the Front Loops
This round creates the beautiful frilly edge. We will be working in the Front Loops Only (FLO).
- Round 17: [In the next FLO: (HDC, 3 DC). Sl St in the next FLO. Skip the next stitch.] Repeat this sequence 8 times around.
After this round, you’ll have 8 lovely ruffles forming the base of your ghost.
Part 5: Stuffing and Closing Your Ghost
We’re on the home stretch! It’s time to stuff your ghost and close up the bottom.
Rounds 18-20: Closing the Base in the Back Loops
Now, we will work in the unworked Back Loops Only (BLO) from Round 16 to close the bottom.
- Stuffing Break: Before starting the next round, add a generous amount of Poly-Fil. Stuff the head firmly to give it a nice shape, but don’t overstuff the body just yet, as it can get in the way.
- Round 18 (in BLO): [2 SC, DEC] repeat 6 times. (18 sts)
- Round 19 (in both loops): [1 SC, DEC] repeat 6 times. (12 sts)
- Final Stuffing: Add any remaining stuffing needed to make your ghost perfectly plump.
- Round 20 (in both loops): DEC 6 times. (6 sts)
The Final Cinch
Cut your yarn, leaving a 6-inch tail. Fasten off. Using your tapestry needle, weave the tail through the front loops of the remaining 6 stitches. Pull the tail tight like a drawstring to cinch the hole closed. Weave the end through the bottom a few times to secure it, then poke the tail up into the body of the ghost to hide it.
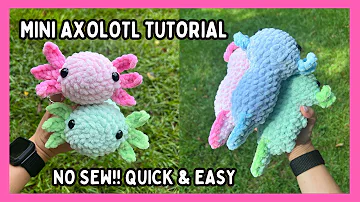
Video Tutorial: Watch This Crochet Ghost Pattern Come to Life
For those who are visual learners, seeing the process in action can make all the difference. Follow along with this wonderful video tutorial that walks you through each step of this no-sew crochet ghost pattern, from the magic ring to the final frill.
Customizing Your Crochet Ghost
One of the best things about a great crochet ghost pattern is using it as a starting point for your own creativity! Here are a few fun ideas to make your ghost unique.
Want an Armless Ghost? A Simple Modification
If you prefer a classic, armless ghost, simply modify Round 11. Instead of working the bobble stitches, just crochet 1 SC in each of the 30 stitches for that round. Then, continue with the rest of the pattern as written. You’ll end up with a smooth, traditional ghost shape.
From Plushie to Keychain: Size Variations
To create a miniature ghost perfect for a keychain or ornament, switch to a thinner yarn and a smaller hook. For example, using worsted weight acrylic yarn with a 3mm hook will create a much smaller, but equally adorable, ghost. This is a great way to use up scrap yarn and create a whole family of ghosts!
Color Your World: Beyond the Classic White Ghost
Who says ghosts have to be white? Don’t be afraid to experiment with different colors. An orange ghost gives off fun “pumpkin pie” vibes, a black ghost with neon green eyes is extra spooky, and a pastel rainbow ghost is just plain cheerful. Let your imagination run wild!
Visual Guide Concepts
To further help you visualize the process, here are some image ideas that complement this crochet ghost pattern:
- Image Concept 1: Materials Flat Lay
A beautifully arranged flat lay photo showing all the materials needed: a skein of white chunky yarn, a 5mm crochet hook, a pair of 12mm safety eyes, a stitch marker, scissors, a tapestry needle, and a small ball of pink yarn.
Alt Text: “Materials for the no-sew crochet ghost pattern, including white plush yarn, a crochet hook, safety eyes, and other essential tools.” - Image Concept 2: Bobble Stitch Diagram
A simple, clean infographic showing the 4 steps to create the double crochet bobble stitch for the ghost’s arms. Each step would have a small graphical illustration of the hook and loops.
Alt Text: “Step-by-step diagram explaining how to make a bobble stitch for the amigurumi crochet ghost pattern arms.” - Image Concept 3: Eye Placement Guide
A close-up photo of the crocheted ghost head before it’s stuffed, with red arrows pointing to the ideal row (between Rounds 8 and 9) and indicating the 6-stitch gap for perfect eye placement.
Alt Text: “A visual guide demonstrating the correct eye placement for the free crochet ghost pattern, between rounds 8 and 9.”
Quick Takeaways: Your Ghost Pattern Cheat Sheet
- It’s a No-Sew Project: Arms are created with bobble stitches worked directly into the body.
- Beginner-Friendly: Uses basic stitches and includes clear, step-by-step instructions.
- Yarn Choice Matters: Use chunky plush yarn for a cuddly ghost or worsted weight yarn for a more traditional amigurumi look.
- Key Rounds: Round 11 is for the bobble stitch arms, and Round 17 creates the frilly bottom using the front loops.
- Placement is Key: Attach safety eyes between Rounds 8 and 9 for the cutest expression.
- Customizable: Easily modify the pattern for an armless ghost or change the size by using different yarn and hook combinations.
- Stuff As You Go: Add stuffing before the opening gets too small for the best shape.
Frequently Asked Questions (FAQs) about the Crochet Ghost Pattern
- 1. What is the best yarn for this crochet ghost pattern if I’m a total beginner?
- For absolute beginners, a light-colored worsted weight cotton or acrylic yarn is recommended. It’s less slippery than plush yarn and makes it much easier to see your stitches, which is crucial when you’re learning to count rounds and identify where to place your hook.
- 2. My bobble stitches don’t “pop” out. What am I doing wrong?
- This is a common issue! Bobble stitches naturally want to pop towards the “wrong” side of your work. After you complete the stitch (pulling through all 5 loops), simply use your finger to gently push the bobble from the inside of the ghost to the outside. It should pop right into place.
- 3. Can I make this crochet ghost pattern larger?
- Absolutely! The easiest way to make a larger ghost is to use a thicker yarn and a correspondingly larger hook. For example, try using a super bulky blanket yarn with an 8mm or 9mm hook. You don’t even need to change the pattern; it will naturally come out bigger.
- 4. How do I make the invisible decrease?
- An invisible decrease creates a much cleaner look in amigurumi. To do it, insert your hook into the front loop only of the next stitch, then immediately insert your hook into the front loop only of the following stitch. You’ll have three loops on your hook. Yarn over and pull through the first two loops, then yarn over and pull through the remaining two loops. It makes the decrease virtually disappear!
- 5. My ghost’s bottom ruffles are curling up instead of down. How can I fix this?
- The ruffles might curl a bit naturally. After your ghost is fully stuffed and closed, you can gently train them with your fingers to lay down. Sometimes, the way you hold your work can influence the curl. Once finished, they should create the intended wavy, ghostly effect at the bottom.
Conclusion: You’ve Made a Boo-tiful Friend!
Congratulations, you’ve successfully completed your very own no-sew ghost! By following this free crochet ghost pattern, you’ve not only created an adorable plushie perfect for Halloween and beyond, but you’ve also practiced essential amigurumi skills. You’ve mastered working in the round, creating texture with bobble stitches, and shaping with increases and decreases. You should be incredibly proud of the charming, handcrafted friend you’ve brought to life.
We hope you found this guide to the crochet ghost pattern both fun and easy to follow. The beauty of crochet is taking a pattern and making it your own, whether through your choice of color, a custom facial expression, or by turning it into a unique keychain. This little ghost is proof that with just a hook, some yarn, and a bit of creativity, you can make something truly magical. Now that you have this easy amigurumi ghost tutorial under your belt, the possibilities for your next project are endless!
We’d Love to See Your Creation!
Did you enjoy making this crochet ghost pattern? Share a photo of your finished ghost on social media and tag us! We can’t wait to see all the little ghosties you create.
What color did you choose for your ghost? Let us know in the comments below!
References
- AllFreeCrochet.com – A fantastic resource for thousands of free crochet patterns and tutorials.
- Yarnspirations – Home to popular yarn brands and a vast collection of free patterns for all skill levels.
- Ravelry – An invaluable community and pattern database for all knitters and crocheters.