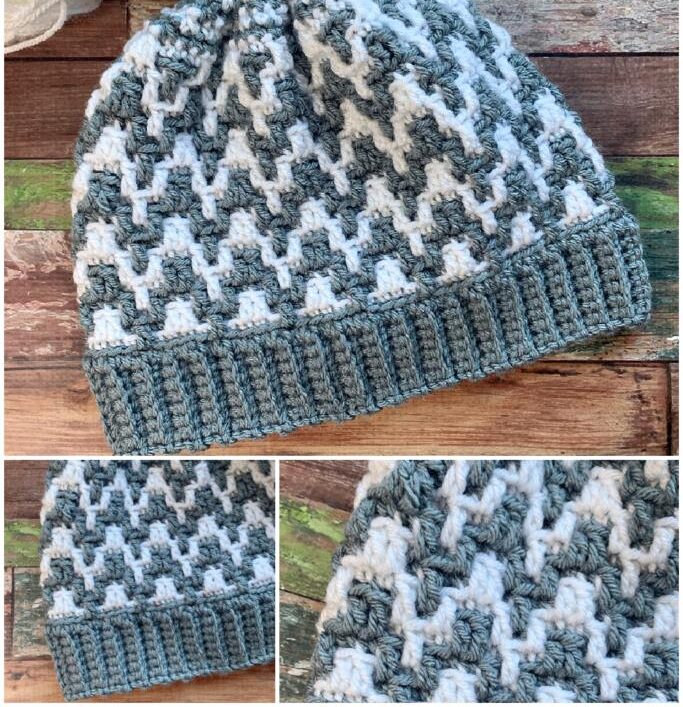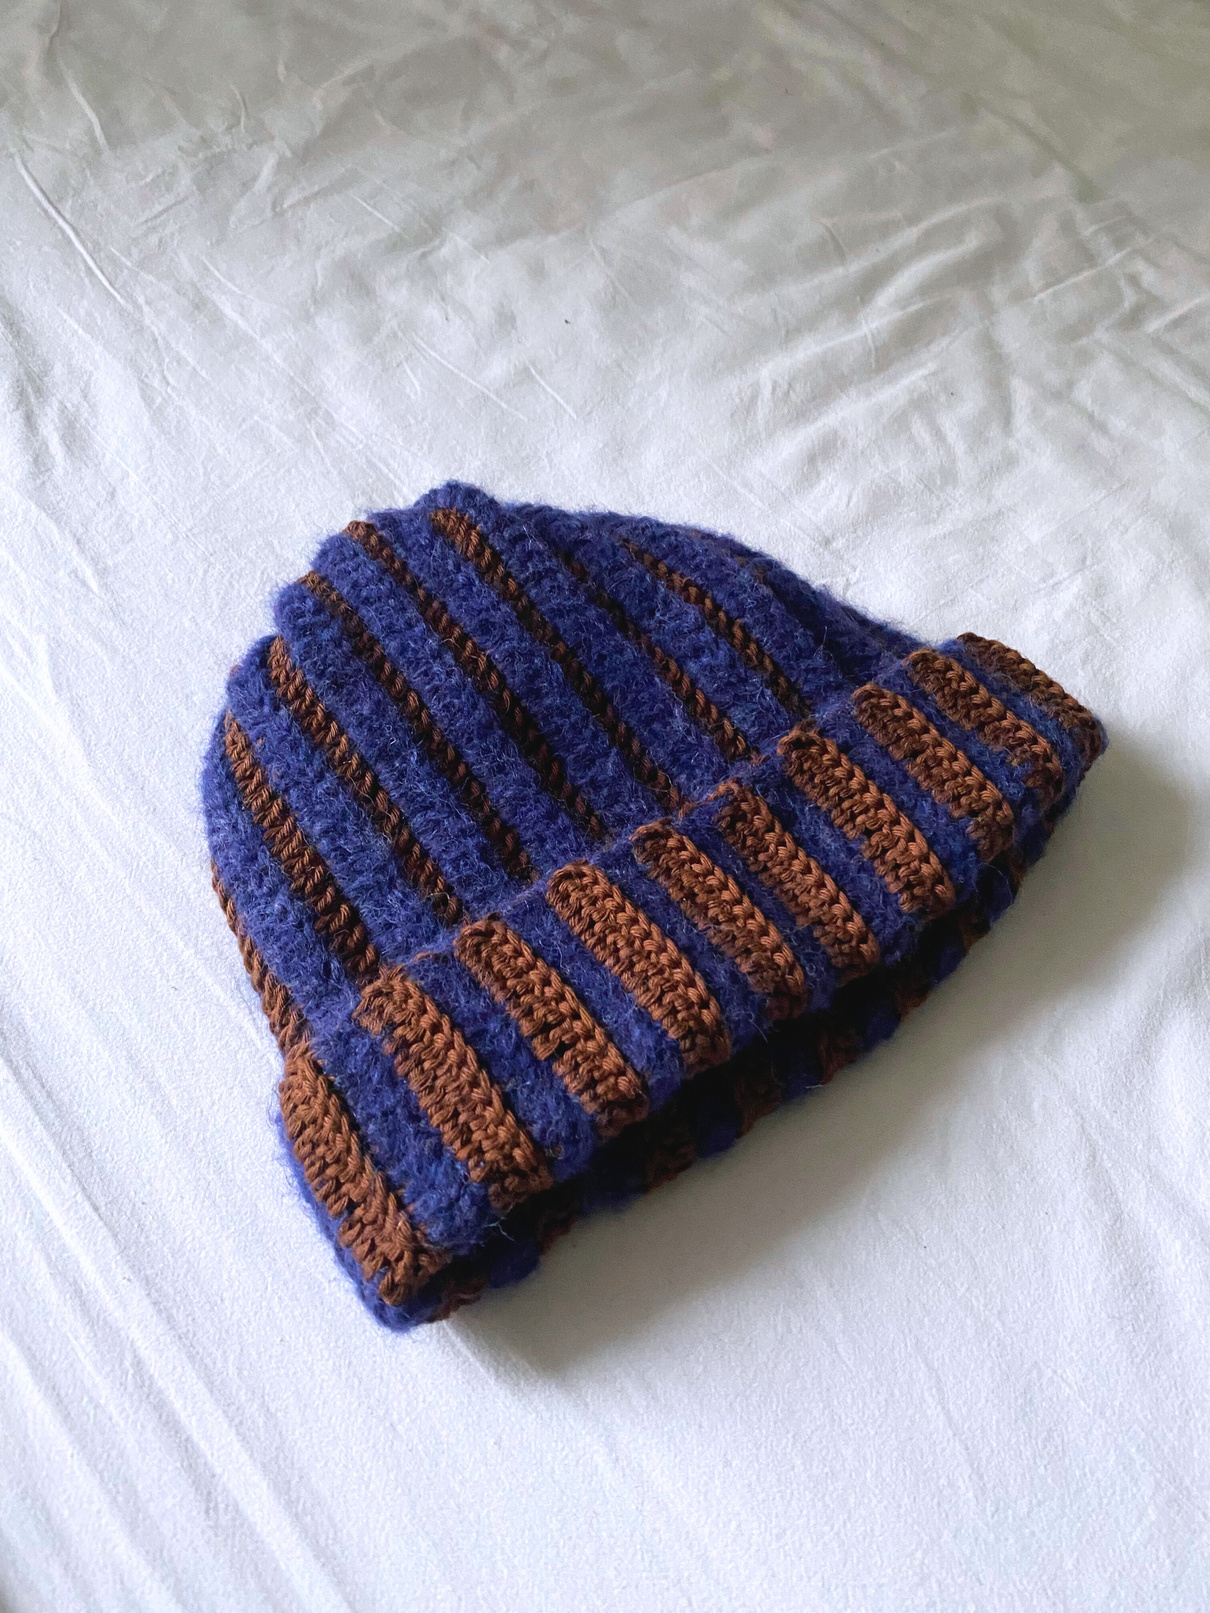
The Easiest Crochet Beanie Pattern: Your Custom, Cozy Hat
Hello, wonderful makers! Is there anything more satisfying than making your own cozy, warm accessories? Today, we’re diving into a project that is as simple as it is brilliant: The Easiest Beanie. This pattern is truly for everyone—whether you’re a complete beginner or a seasoned pro looking for a quick, satisfying make.
The magic of this pattern is that it’s made-to-measure. That means no more guessing about gauge or worrying if you have the right yarn weight. You can use any yarn in your stash and any hook that feels comfortable! This beanie is worked flat in rows of simple double crochets and then sewn together, making the process straightforward and relaxing.
This project is perfect for a last-minute gift, a mindful evening of crochet, or your first foray into making wearables. By the end, you’ll have a beautifully custom-fit beanie that you’ll be so proud to wear or give. The best part? You get to choose the colors, the length, and the style—make it solid, striped, or wildly colorful!
So, grab that single skein of yarn you’ve been saving and let’s create something wonderfully cozy together.
Materials You’ll Need
- Yarn: Any yarn you want or have in your stash! The amount will depend on the size of your beanie.
- Crochet Hook: Use the hook size recommended for your chosen yarn.
- Notions:
- Scissors
- Tapestry needle (for weaving in ends and cinching the top closed)
Stitches and Abbreviations (US Terms)
- ch: chain
- sl st: slip stitch
- dc: double crochet
- st/sts: stitch/stitches
How to Measure Your Perfect Beanie
Before you make a single stitch, let’s take two quick measurements. This is the secret to your custom fit!
- Length: Measure how tall you want your finished beanie to be. Important: Remember to include the height of the folded cuff in this measurement!
- Width: Measure the circumference around the widest part of your head. This number is how wide your crochet panel needs to be.
The Pattern: Let’s Make Your Beanie
Step 1: Create the Foundation
Start by making a foundation chain. The number of chains should be equal to the desired length of your beanie (including the fold!).
- Add 2 more chains. These will count as your first double crochet.
- Place your first dc into the 3rd chain from your hook.
- Place 1 dc into every single chain stitch across until you reach the end.
Step 2: Building the Body of the Hat
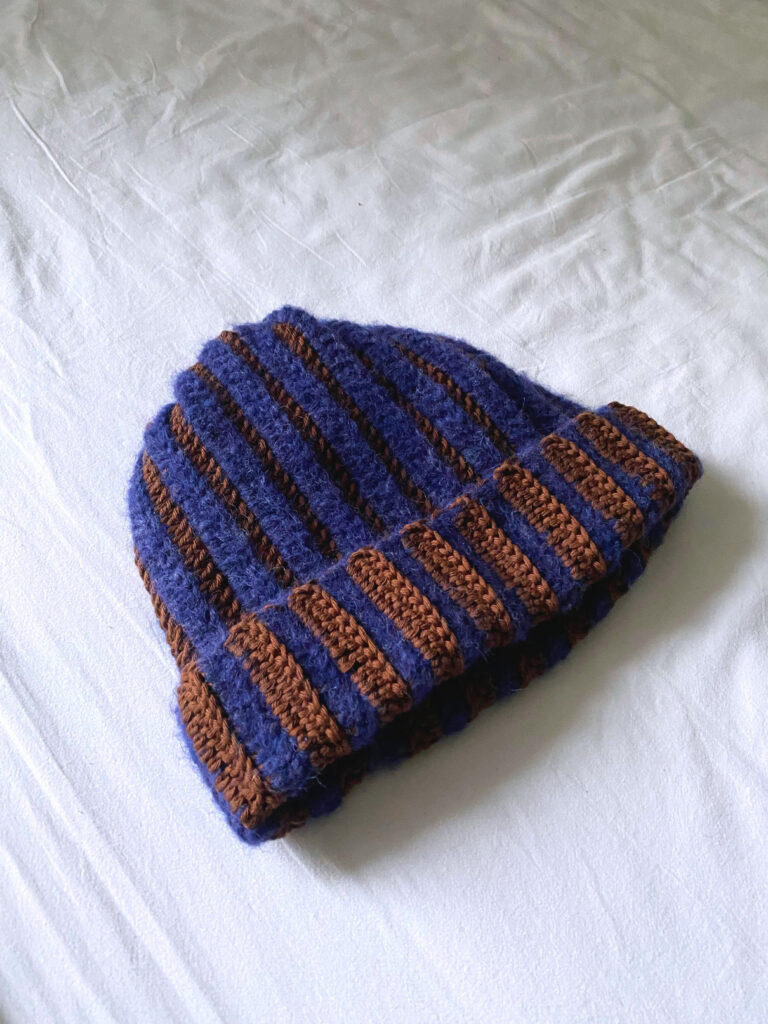
For Stripes: If you want a striped beanie, you’ll change colors at the end of every row. When you are pulling through the last two loops of the final dc of a row, use your new color to complete the stitch. As you work subsequent rows, simply crochet over the unused yarn to carry it along neatly.
- Ch 2 and turn your work.
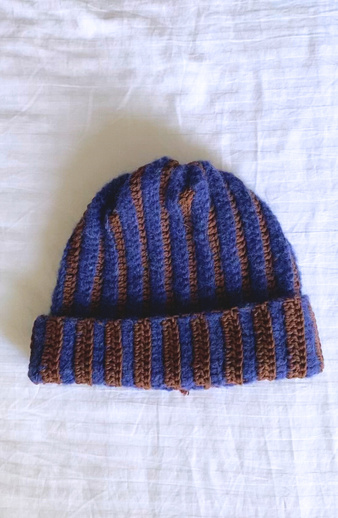
- For the entire rest of the hat, you will be working only into the back loop of each stitch. This creates a lovely ribbed texture.
- Place 1 dc into the back loop of the 2nd stitch of the new row.
- Continue placing 1 dc into the back loop of every stitch across, including the stitch created by the beginning ch-2 from the previous row.
- Change colors here if you are starting a new stripe.
Step 3: Repeat Until It’s Wide Enough
Repeat Step 2 over and over again. Continue working rows of back-loop-only double crochet.
How do you know when to stop? Your growing rectangular panel is done when its width matches the head circumference measurement you took earlier. Lay it flat and measure it to check!
Step 4: Forming the Tube & Cinching the Top
- Form the Tube: Once your panel is the correct width, it’s time to connect it into a tube. Align the first row and the last row. Using your yarn needle and a long tail of yarn, whipstitch or slip stitch these two edges together securely.
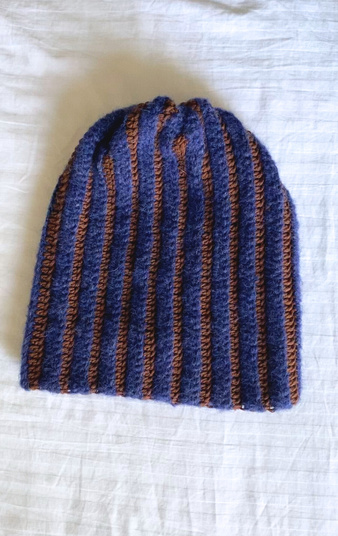
- Cinch the Top: Thread your tapestry needle with a long piece of yarn. Starting at the seam, make long running stitches all the way around the top open edge of your tube. Once you’ve gone all the way around, pull the yarn tight to gather the top closed.
- Secure It: Make a firm knot to secure the cinched top. To make it extra secure, pass the needle through the gathered center a few more times. Weave in the end.
Step 5: The Final Finishes
- Weave in All Ends: Use your tapestry needle to neatly weave in all your remaining yarn ends from color changes and your starting tail.
- Wear It! Turn your beanie right side out, fold up the cuff, and admire your incredible, custom-made, cozy creation!
You Did It!
Congratulations, you amazing maker! You’ve just created a perfectly fitting, beautiful beanie entirely from scratch. There’s nothing quite like the feeling of wearing something you made with your own hands