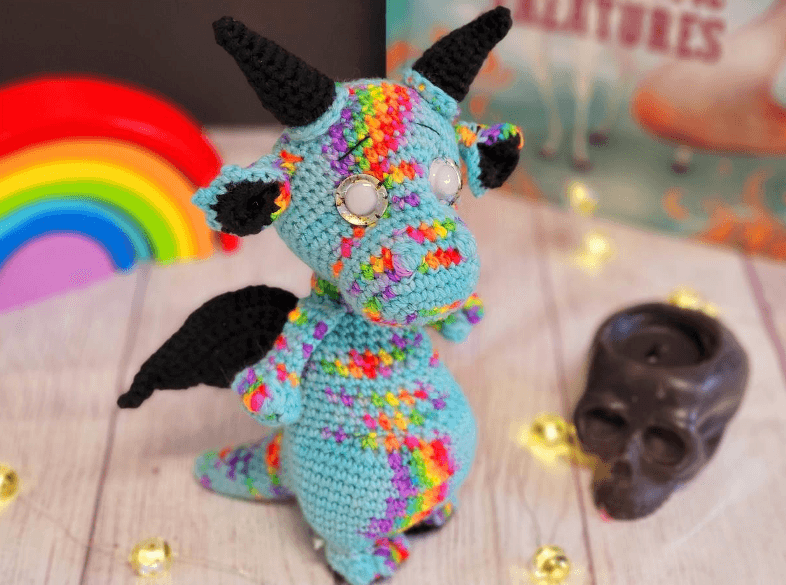
Rainier the Dragon Crochet Pattern: Create a Magical Amigurumi Friend
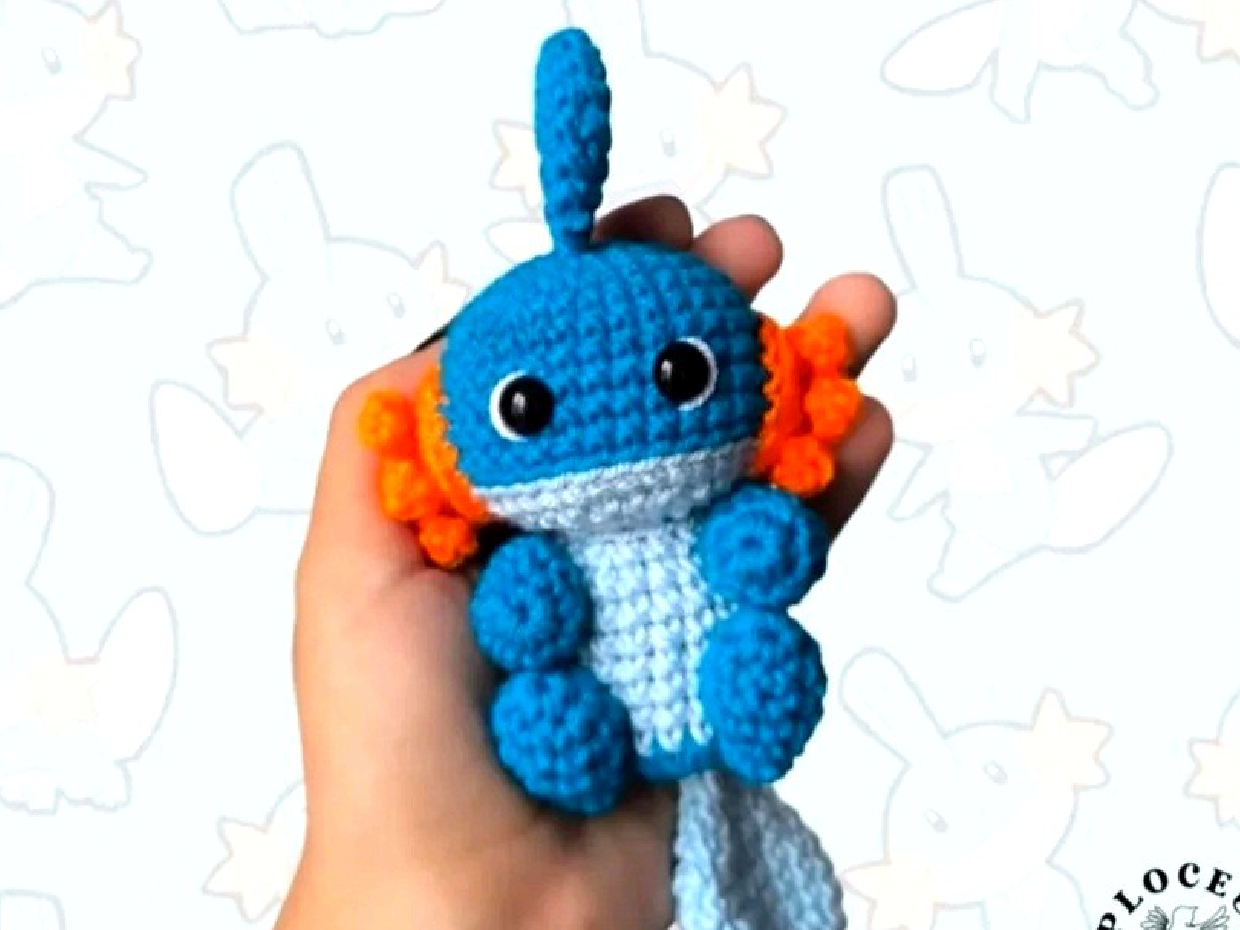
Meet Rainier the Dragon, a charming amigurumi creation from Sweet Oddity Art that’s ready to spark your imagination! With his colorful variegated scales, tiny horns, and delicate wings, this 8-inch fantasy friend is perfect for dragon lovers of all ages. Whether you’re making Rainier as a nursery decoration, a child’s beloved toy, or simply to add magic to your crochet collection, this pattern offers a delightful challenge with stunning results.
Designed for intermediate crocheters, this pattern helps you master:
- Shaping techniques for wings, horns, and tail
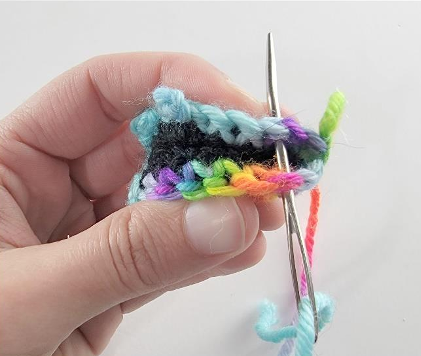
- Color changes between variegated and black yarn
- Unique assembly for that perfect dragon silhouette
The combination of worsted weight yarn and 3.25mm hook creates a sturdy yet cuddly companion. Let’s embark on this magical making journey!

Materials
- Yarn (Worsted Weight #4):
- Color A: Variegated (150g)
- Color B: Black (50g)
- Hook: 3.25mm (D hook)
- Safety eyes: 20mm
- Other supplies:
- Fiberfill stuffing
- Tapestry needle
- Scissors
- Stitch marker
Abbreviations (US Terms)
- mr: Magic ring
- ch: Chain
- sc: Single crochet
- hdc: Half double crochet
- dc: Double crochet
- bob: Bobble stitch
- inc: Increase (2 sc in same stitch)
- dec: Decrease (sc 2 together)
- BLO/FLO: Back/front loop only
- [#]: Stitch count
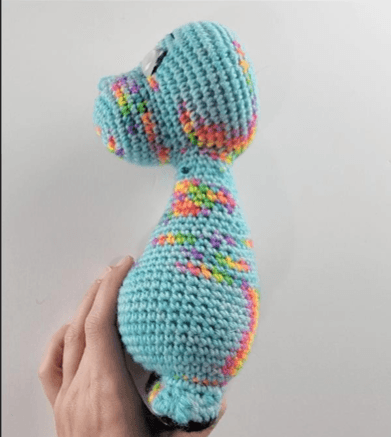
Finished Size
Approximately 8 inches tall.
Pattern Instructions
Head (Color A – Variegated)
- Start with ch 5, then work into 2nd ch:
- R1: inc, 2 sc, inc4, 2 sc, inc [12]
- Continue increasing to R13 (48 sts)
- Place safety eyes between Rounds 12-13 (10 stitches apart).
Body & Legs (Color B & A)
- Legs: Start black, switch to variegated at R4.
- Connect legs at R7 of 2nd leg to form body base.
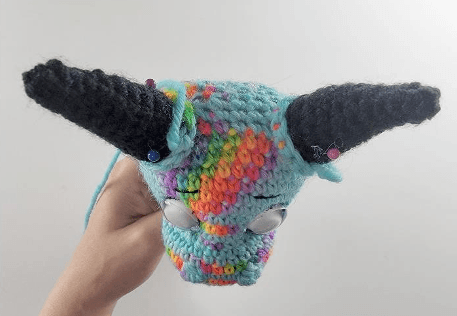
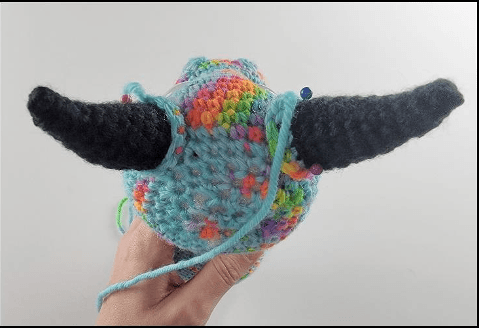
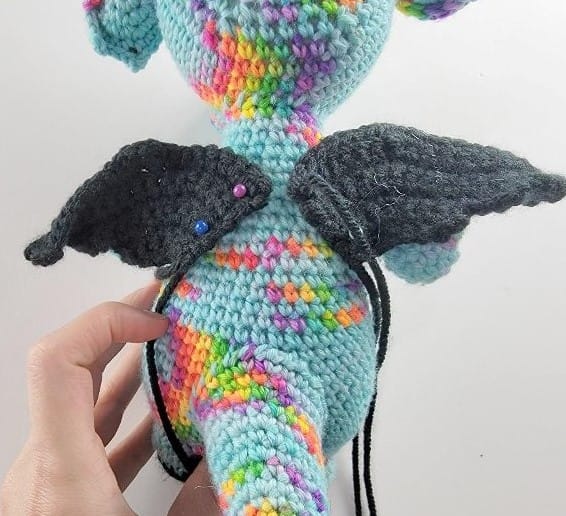
Wings (Color B – Black)
- Work in rows with ch 8 foundation.
- Shape with increases and chains for pointed tips.
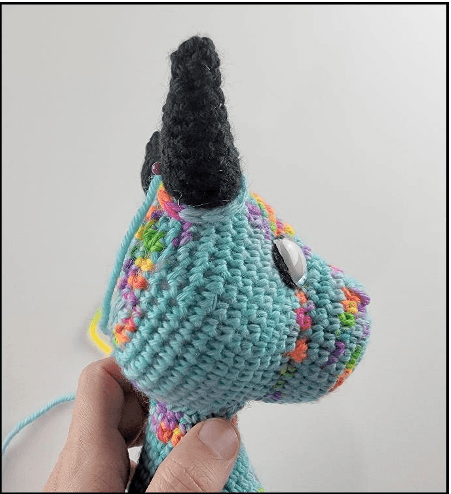
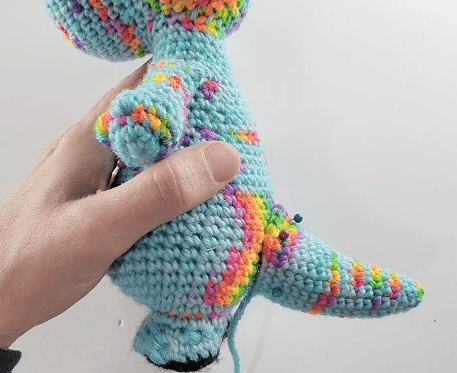
Horns & Ears
- Horns: Start black, transition to variegated at R11.
- Ears: Layer black and variegated pieces together.
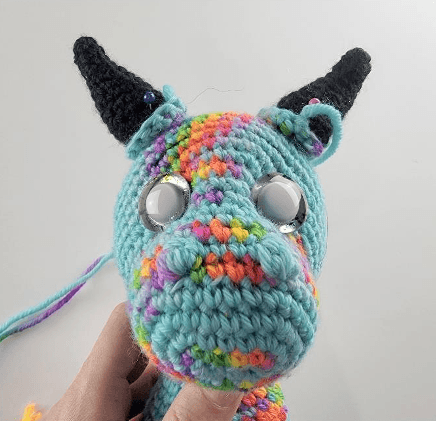
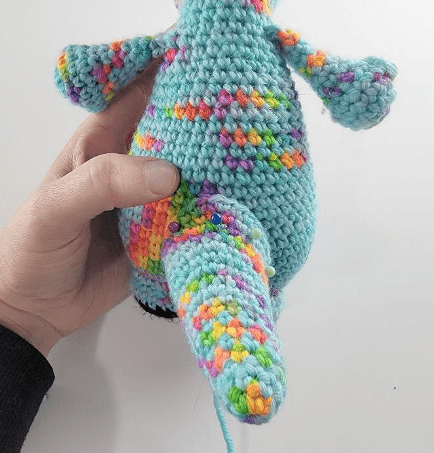
Assembly
- Attach head to body, stuffing neck firmly.
- Sew horns to top of head.
- Pinch ears at base and attach near horns.
- Position wings on back, arms at sides.
- Add tail to rear with slight curve.
Tips for Success
- Eye placement: Mark positions before securing safety eyes.
- Variegated yarn: Rotate skein to distribute colors evenly.
- Stuffing: Use small amounts for wings/horns; pack body firmly.
- Bobble stitches: Work slowly for defined texture.
Final Thoughts
Rainier the Dragon is more than a crochet project—he’s a fantasy come to life! Customize his colors for a fire dragon, ice dragon, or rainbow friend. However you make him, he’s sure to become a treasured keepsake.
Happy crocheting! May your hooks be as magical as your creations.