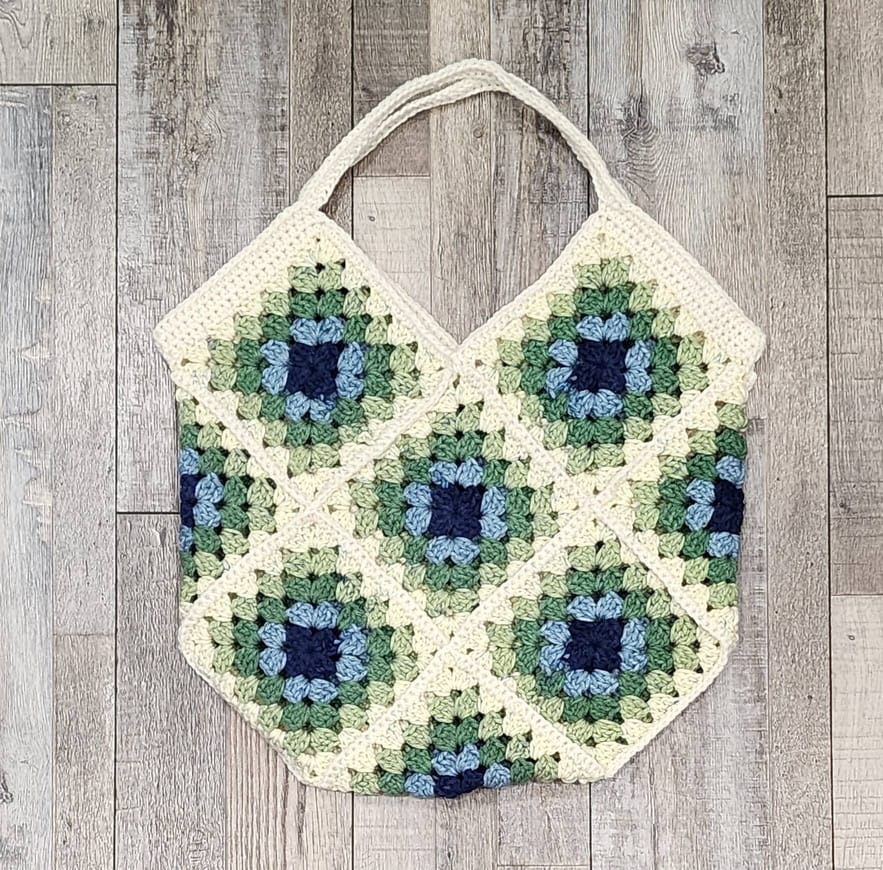
Go Granny Go Bag: Free Beginner-Friendly Crochet Pattern for a Stylish Tote
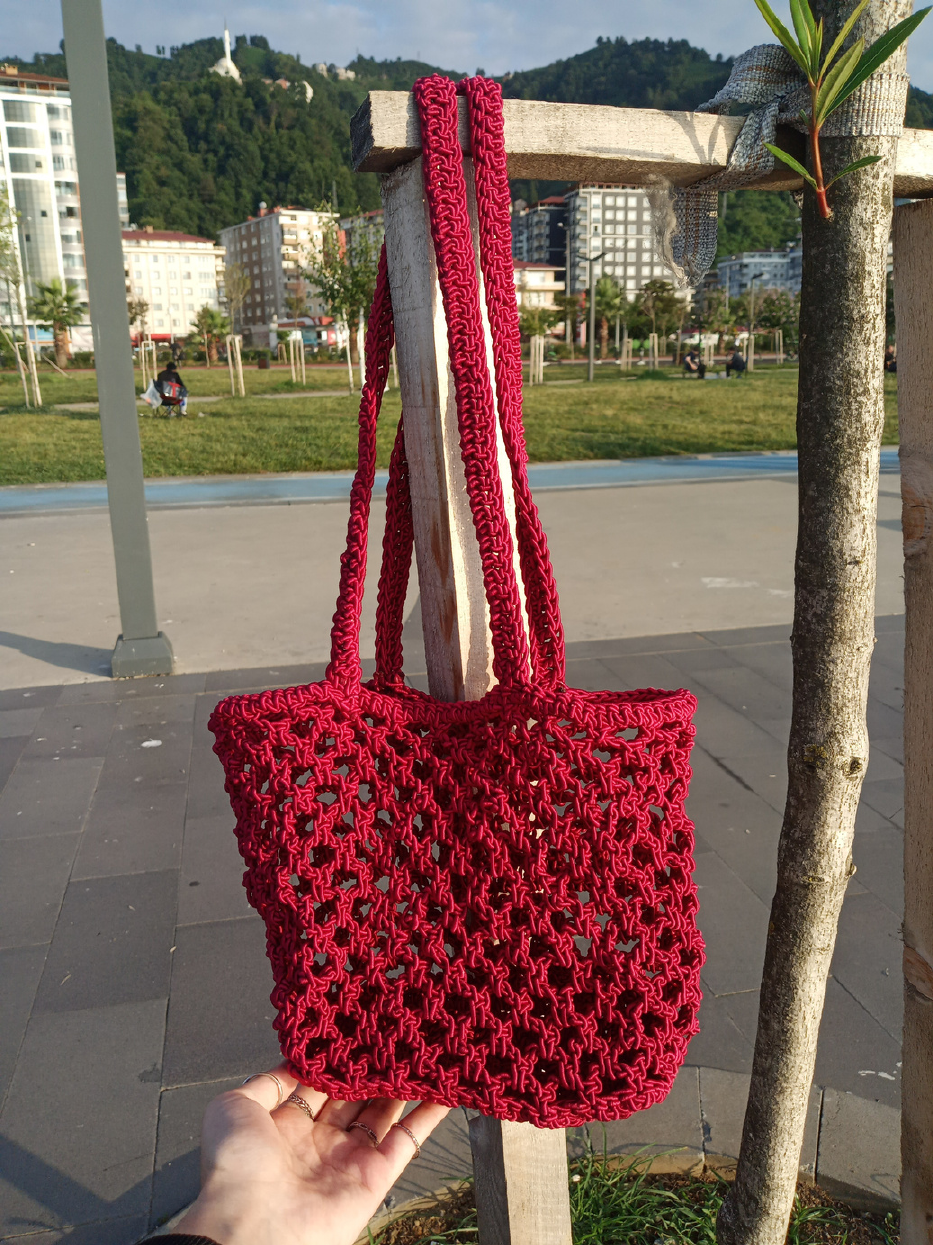
Hey there, crochet friends Are you ready to make a Go Granny Go Bag—a sturdy, colorful tote that’s as practical as it is pretty? Designed by Miss WitchCrafts, this pattern uses simple granny squares and basic stitches, making it perfect for beginners.
Whether you need a bag for groceries, gym gear, or craft supplies, this project is quick, customizable, and oh-so-fun. The best part?
The Red Heart All-In-One yarn means fewer color changes and ends to weave in
Let’s grab our hooks and get started
Materials Needed
- Yarn:
- 1 skein Red Heart All-In-One (AIO) Granny Square yarn (for 13 squares)
- 1 skein complementary solid color (check the AIO label for the recommended shade)
- Hook: 5.5mm (or size needed to match gauge)
- Other Supplies:
- Yarn needle
- Scissors
- Stitch markers (optional)
Abbreviations & Notes
Abbreviations (US Terms):
- ch = chain
- sc = single crochet
- hdc = half double crochet
- dc = double crochet
- sl st = slip stitch
- MR = magic ring
- FO = fasten off
Notes:
- The AIO yarn creates self-striping granny squares—no need to switch colors manually
- Each square should measure 6×6 inches. Adjust your hook size if needed.
- New to granny squares? Practice with a few test squares first
Crochet Pattern Instructions
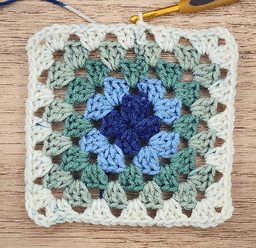
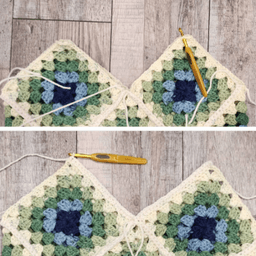
Step 1: Make the Granny Squares
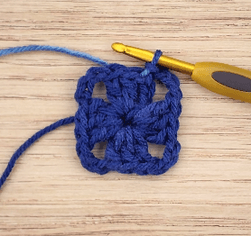
- Round 1:
- Make a magic ring (or ch 4 and join with a sl st).
- Into the ring, work *3 dc, ch 3* four times. Join with a sl st to the first dc. (This forms the square’s corners.)
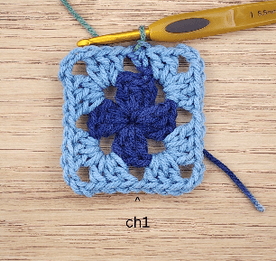
- Round 2:
- In each ch-3 corner space, work 3 dc, ch 3, 3 dc.
- Between clusters, ch 1 to separate.
- Rounds 3–5:
- Repeat Round 2, adding clusters and ch-1 spaces along the edges.
- After Round 5, sl st to join and fasten off. Weave in ends.
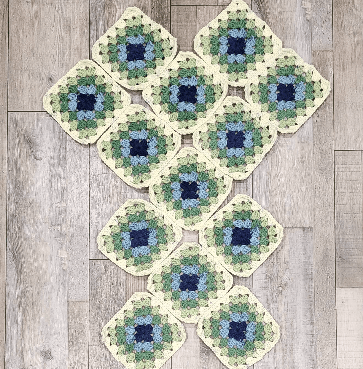
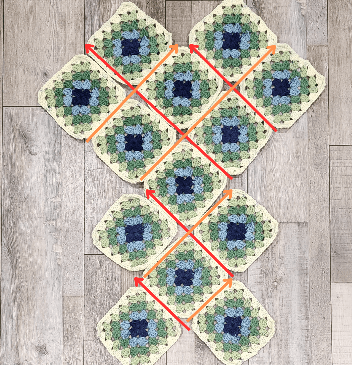
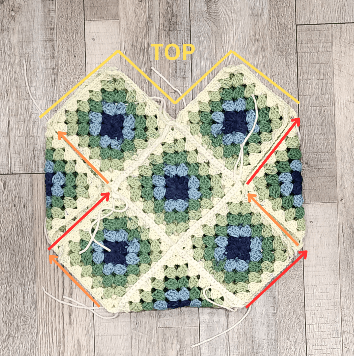
Step 2: Join the Squares
- Layout: Arrange 13 squares as shown in the pattern (3 squares wide x 4 tall, with one square centered at the bottom).
- Joining Method:
- With the complementary color, place two squares wrong sides together.
- Use sc to join through both squares’ edge stitches and chains.
- Repeat until all squares are connected into a rectangular panel.
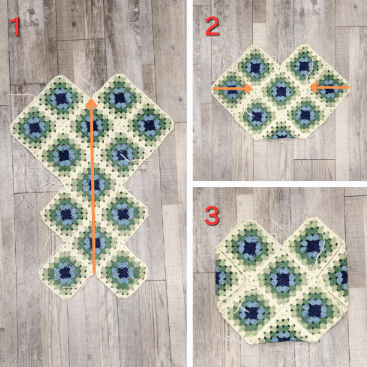
Step 3: Shape the Bag
- Fold the joined panel with the right side out, forming the bag’s sides.
- Seam the sides and bottom using the same sc method
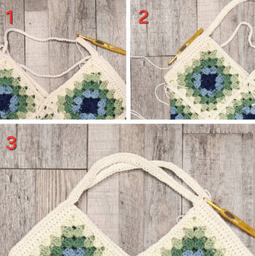
Step 4: Add the Top Edging & Straps
- Edging:
- With the complementary color, hdc evenly around the bag’s top edge. Join with a sl st.
- Straps:
- At each front corner, ch 50 (or desired length), skip the side seams, and hdc into the opposite corner.
- Repeat for the second strap. Secure with sl sts and weave in ends
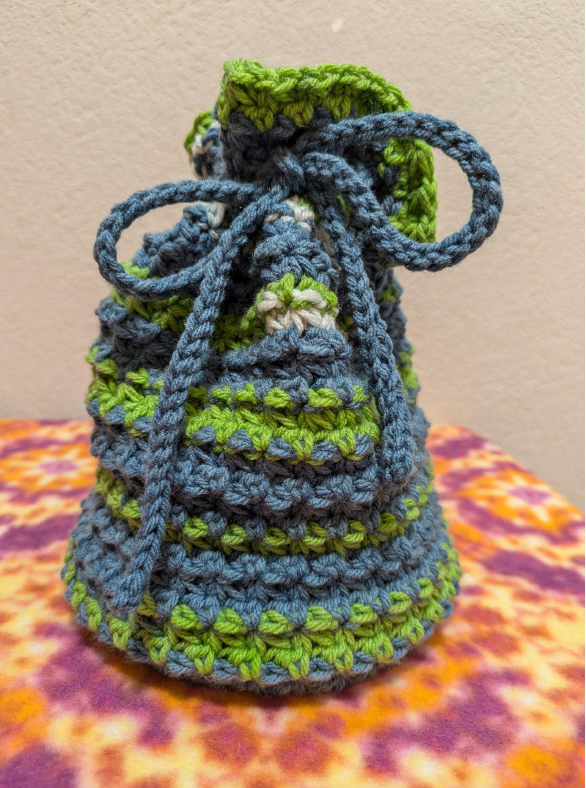
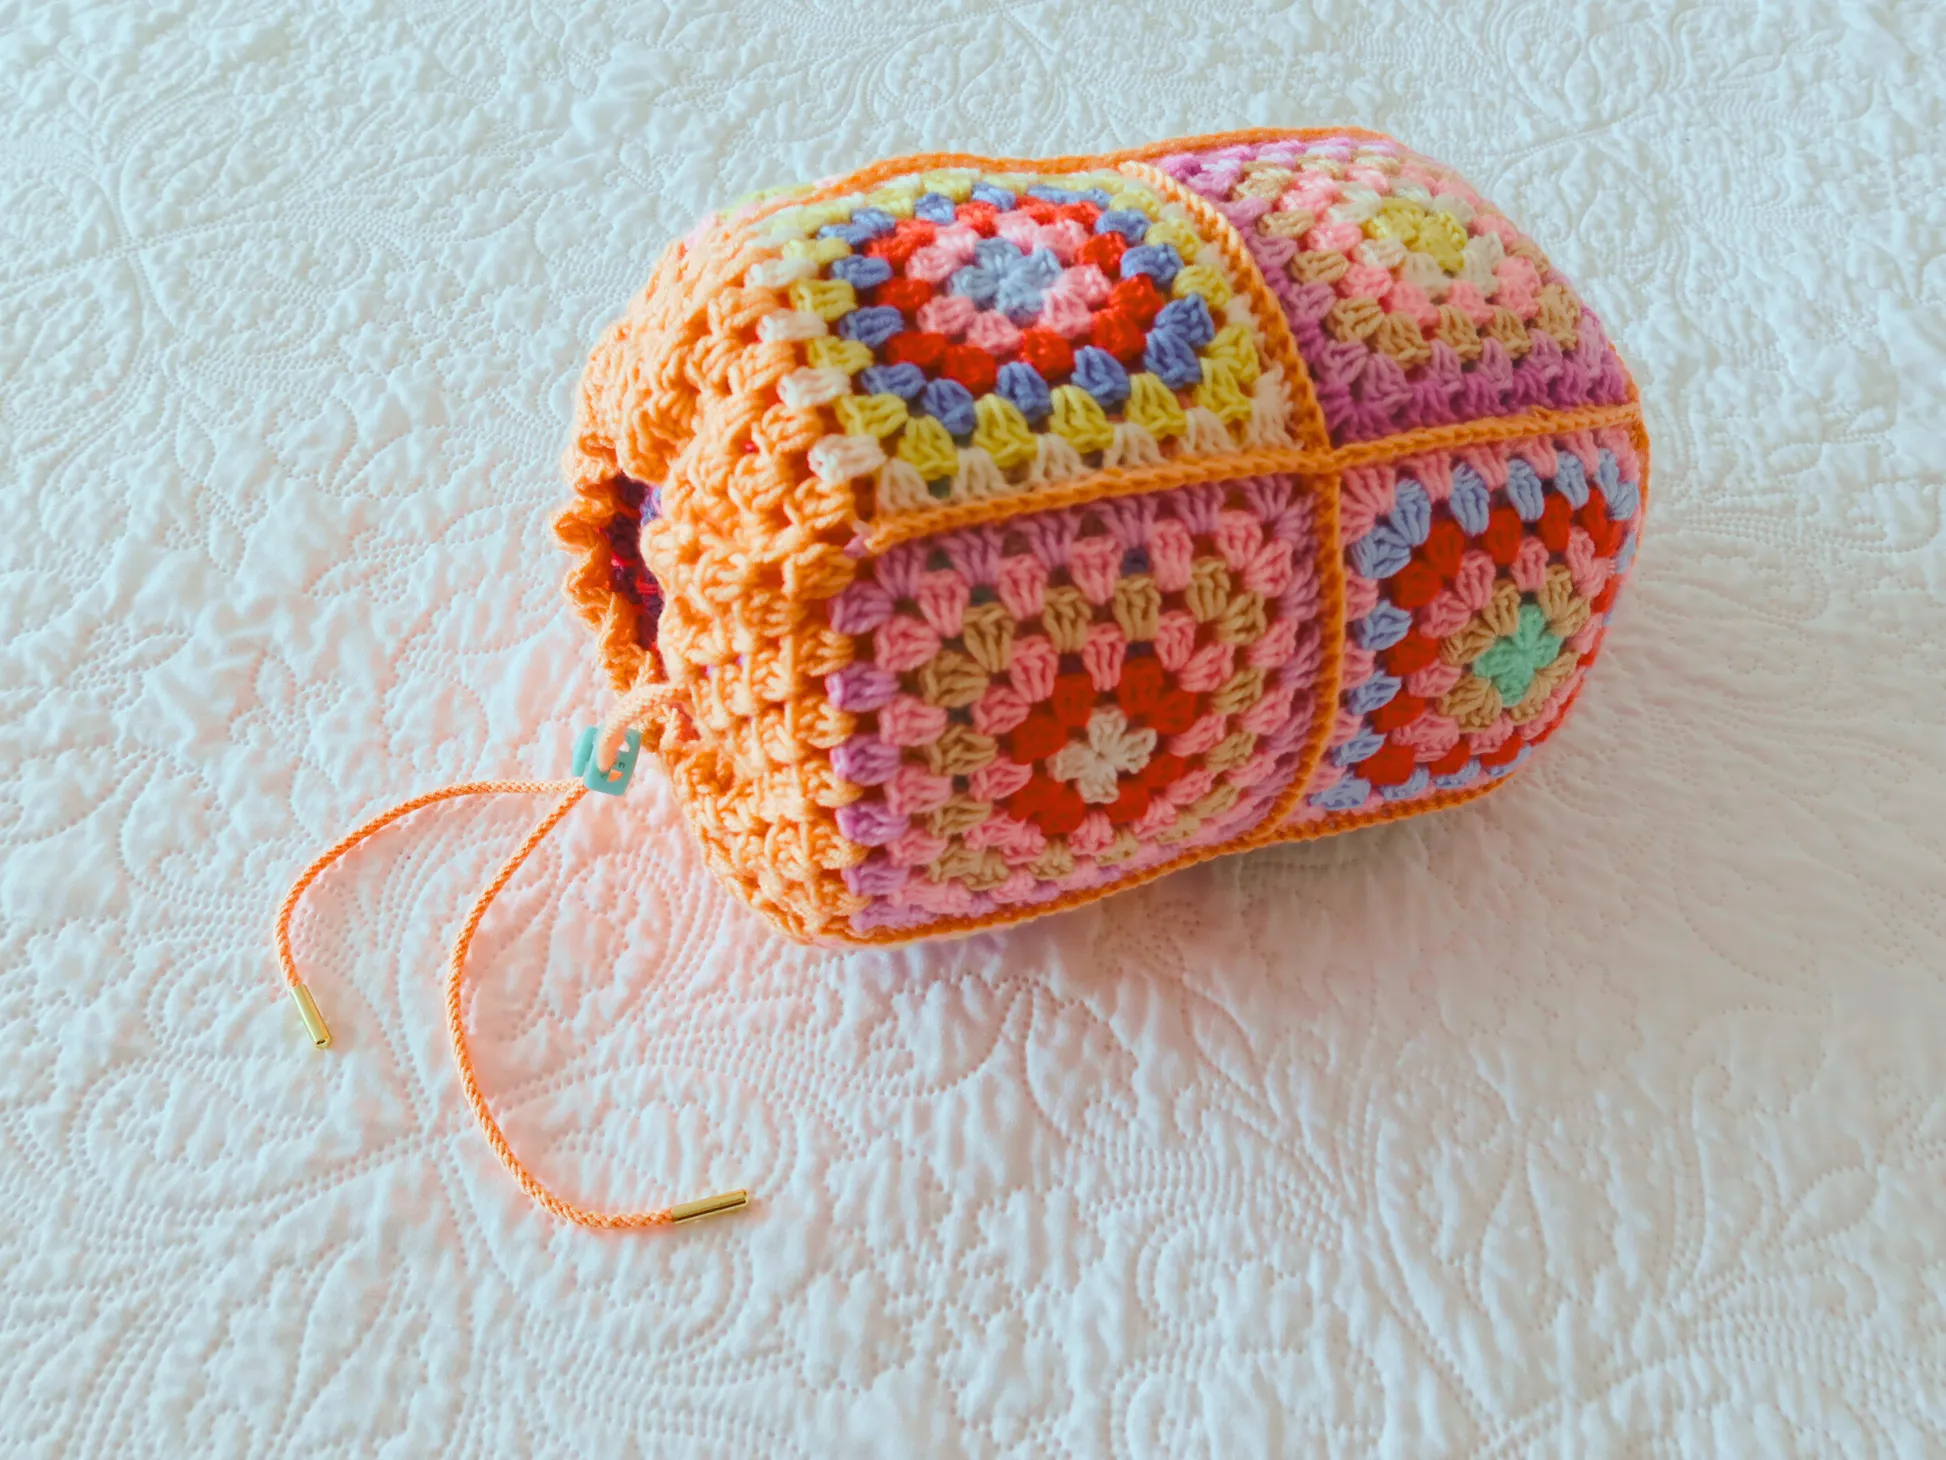
Bonus: Mini Drawstring Bag (Optional)
Got extra squares? Use 2 to make a cute pouch
- Join three sides with sc, leaving the top open.
- Work a dc border with ch-1 gaps for the drawstring.
- Thread a yarn chain through the gaps to cinch closed
Helpful Tips for Beginners
- Tension Matters: Keep stitches loose for even squares.
- Blocking: Lightly steam squares before joining for a polished look.
- Straps: Reinforce strap attachments with extra stitches for durability
Closing Paragraph
Voilà! Your Go Granny Go Bag is ready to rock. Whether you’re toting books, yarn, or farmer’s market finds, this bag is as functional as it is fun. I hope you love making it as much as I loved designing the pattern