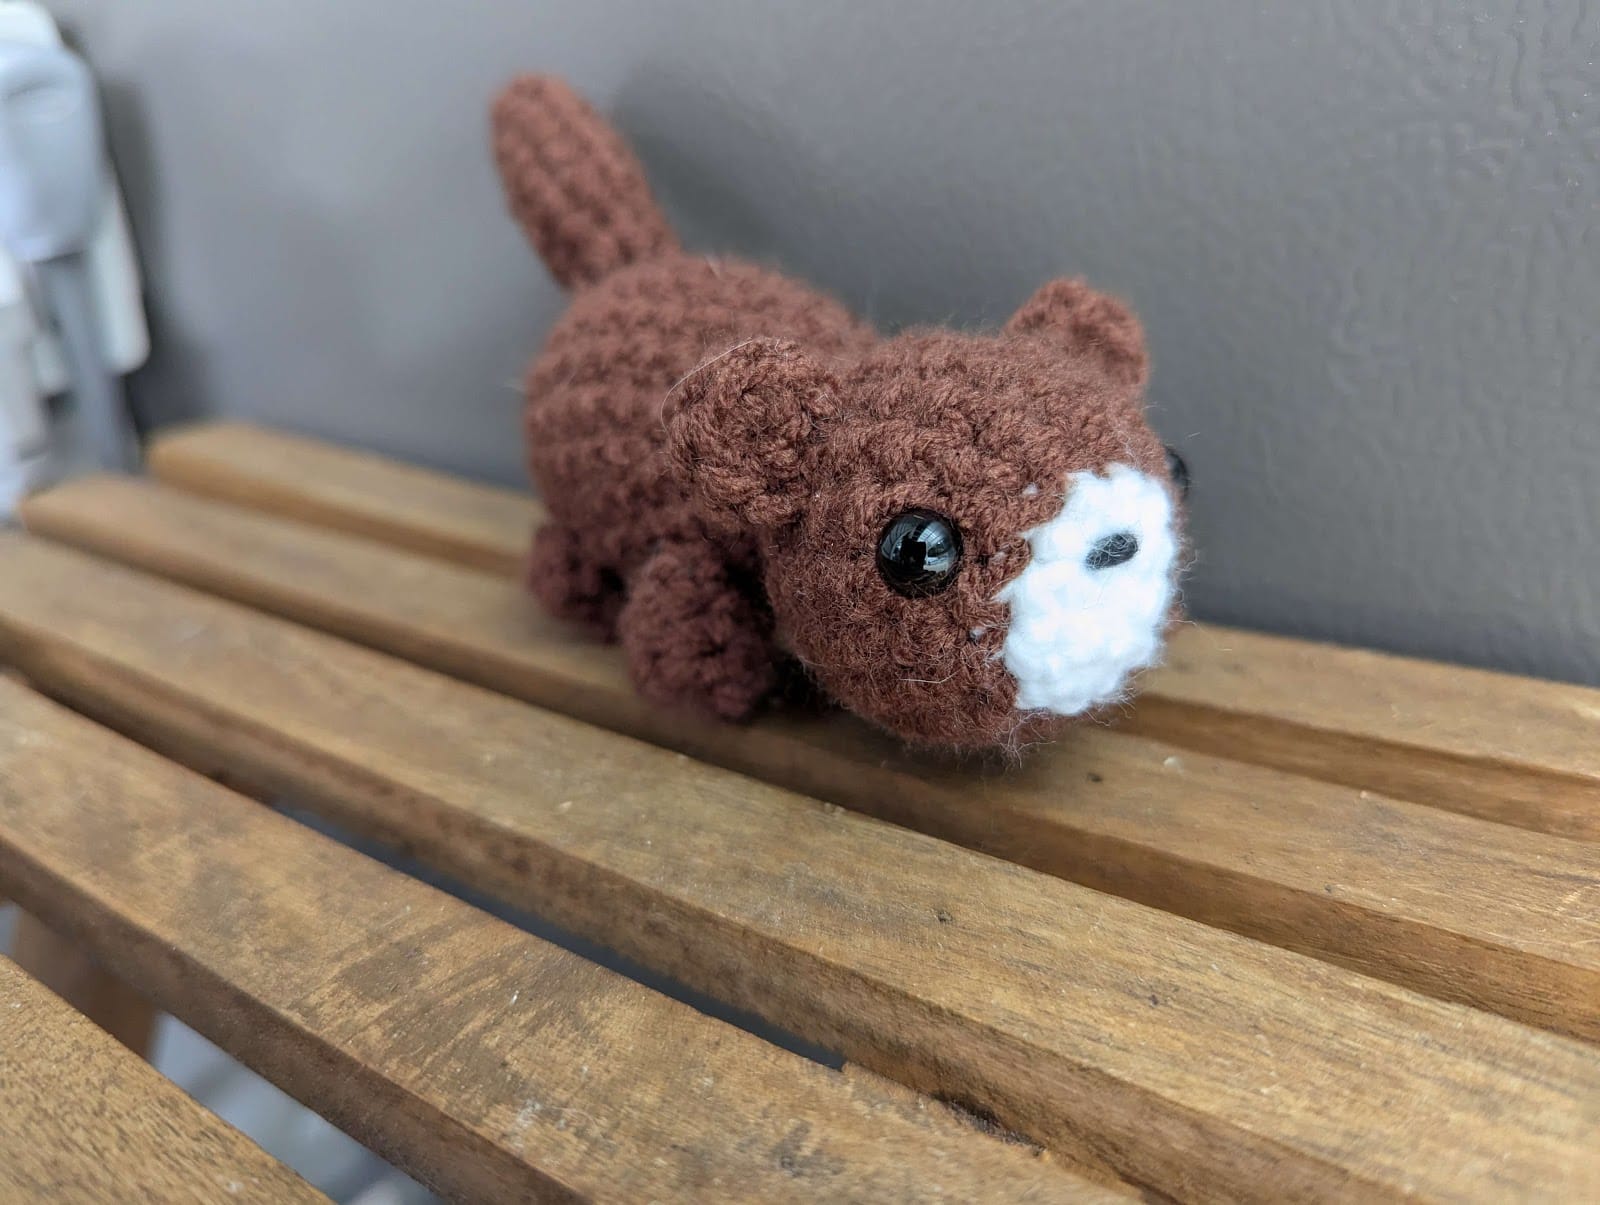
Adorable Vancouver Island Marmot Crochet Pattern
Meet your new crochet companion—a tiny, chubby-cheeked Vancouver Island marmot! Inspired by one of Canada’s most endangered animals, this little guy is not only adorable but also a great way to spread awareness about these fascinating creatures.
This pattern is beginner-friendly, using simple stitches like single crochet (sc), increases (inc), and decreases (dec). The result? A cuddly, 5-inch marmot with a fluffy tail, tiny paws, and the cutest little ears. You can customize the colors to match different marmot species or even make a whole family
Why You’ll Love This Pattern:
✅ Quick & Easy – Works up fast with basic stitches.
✅ Educational – A fun way to learn about wildlife conservation.
✅ Customizable – Adjust colors for different marmot species!
Before you start, take a moment to look up the real Vancouver Island marmot—they’re chubby, whistling rodents with the sweetest faces! Now, grab your yarn and hook, and let’s make a plushie that’s as charming as the real thing
Materials
- Yarn:
- Dark brown (main body)
- White (belly & muzzle) (I used Loops & Threads Soft Classic Solid)
- Hook: 4.5mm (or size to match yarn)
- Safety eyes (small, ~6mm)
- Stuffing (polyfill or scrap yarn)
- Tapestry needle
- Stitch marker
- Scissors
Abbreviations (US Terms)
- ch = chain
- sc = single crochet
- inc = increase (2 sc in same stitch)
- dec = decrease (invisible or sc2tog)
- hdc = half double crochet
- dc = double crochet
- tc = triple crochet
- ss = slip stitch
- FLO/BLO = front/back loops only
- mc = magic circle
- (…) = repeat instructions inside
- (#) = stitch count at end of round
Finished Size
Approx. 5 inches long (including tail). Size may vary based on yarn weight and tension.
Pattern Instructions
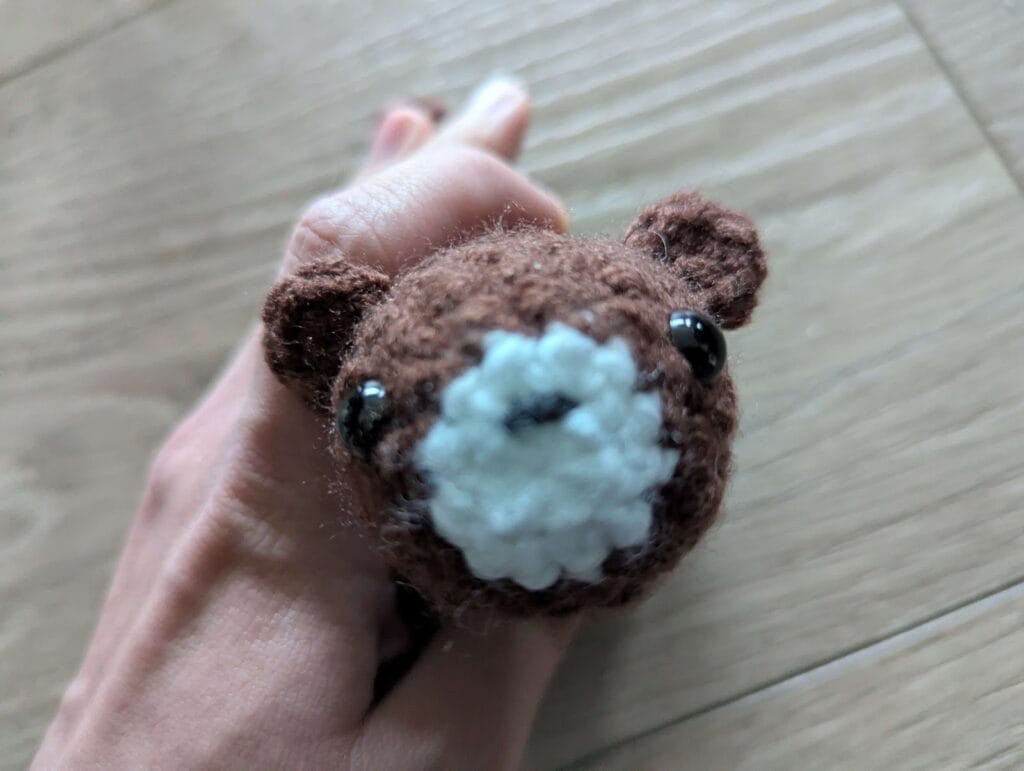
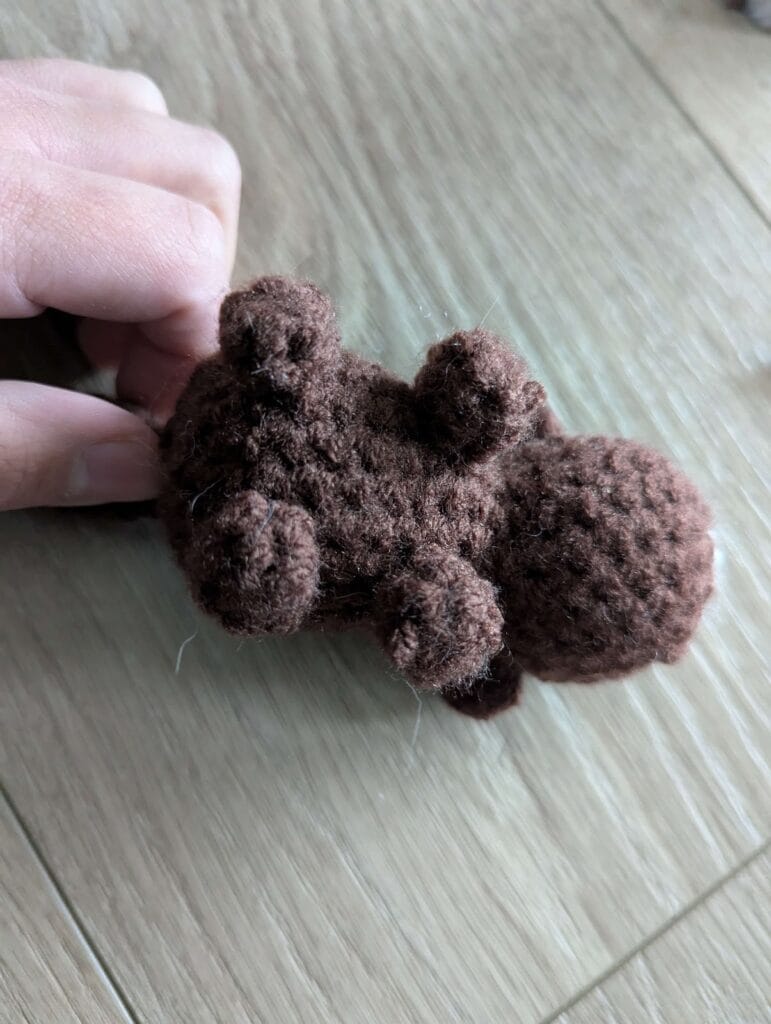
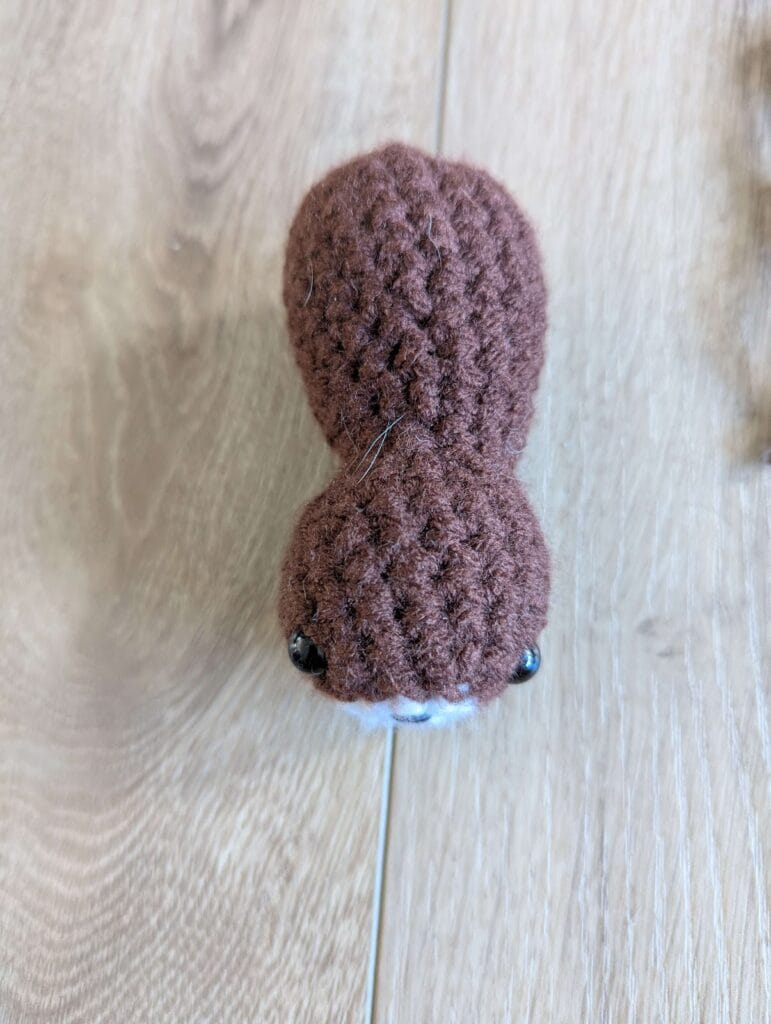
Body (Start with white for belly, switch to dark brown)
- R1: 6 sc in mc (6)
- R2: (Inc) x6 (12) (Switch to dark brown)
- R3: Sc around (12)
- R4: (Sc, inc) x6 (18)
- R5–8: Sc around (18) x4 rounds
- R9: (Sc, dec) x6 (12)
- R10: Sc around (12)
- R11–14: (Sc 2, inc) x4 (16)
- R15–16: Sc around (16) x2
- R17: (Sc 2, inc) x5, sc (21)
- R18–22: Sc around (21) x5
- R23: (Sc, dec) x7 (14)
- R24: (Dec) x7 (7)
- Fasten off, stuff firmly, and close the hole.
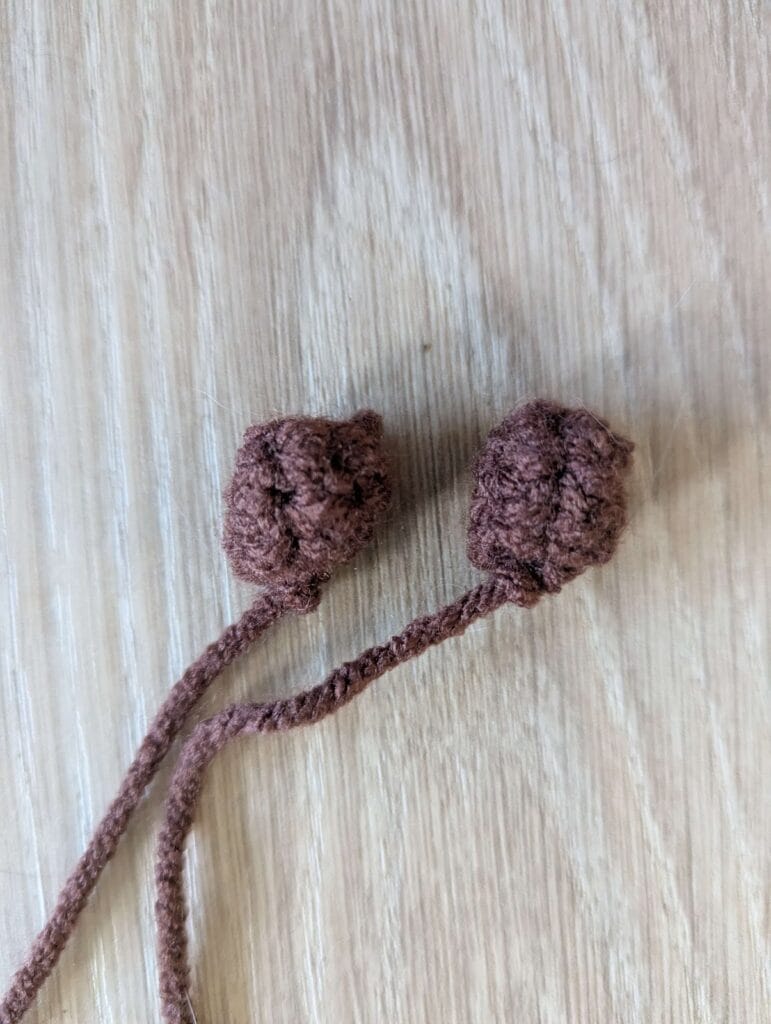
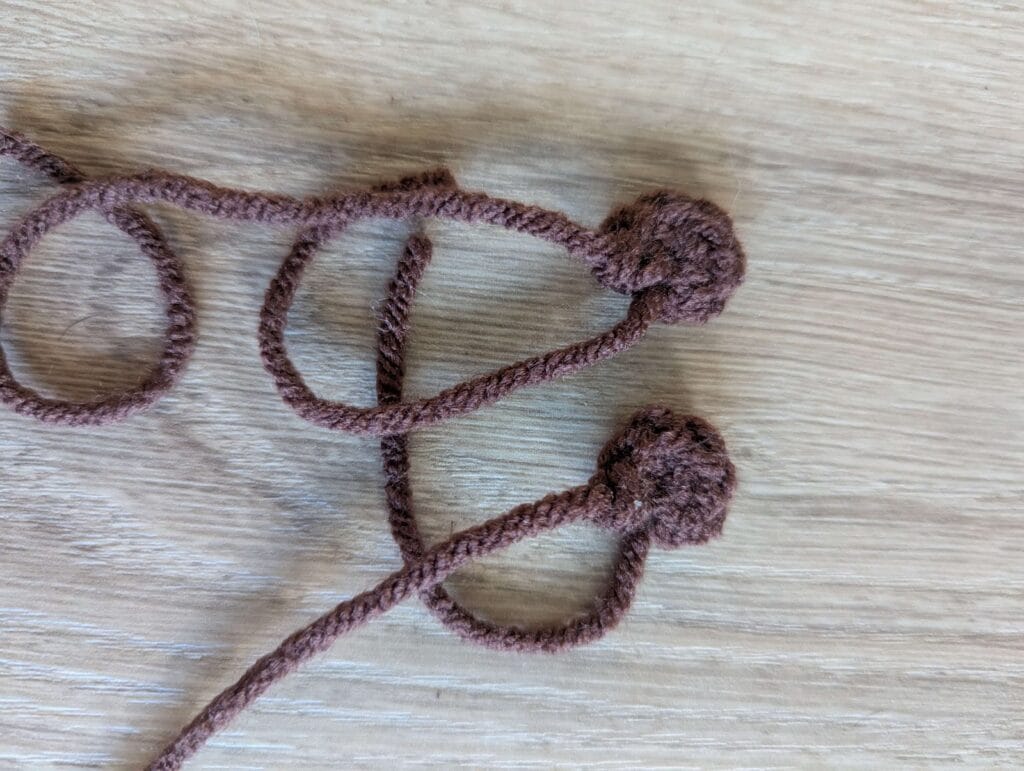
Ears (Make 2, dark brown)
- 6 sc in mc, fasten off leaving a tail for sewing.
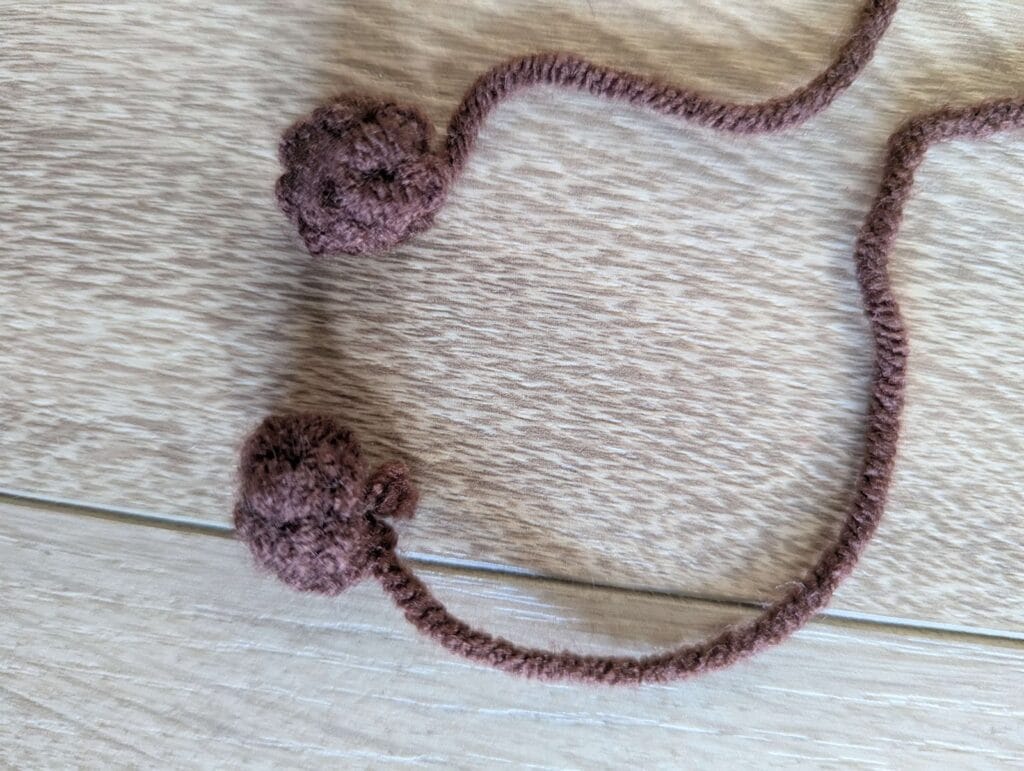
Front Paws (Make 2, dark brown)
- R1: 6 sc in mc (6)
- R2–3: Sc around (6) x2
- Fasten off, leaving a tail to attach.
Back Paws (Make 2, dark brown)
- R1: 6 sc in mc (6)
- R2: Sc around (6)
- Fasten off, leaving a tail to attach.
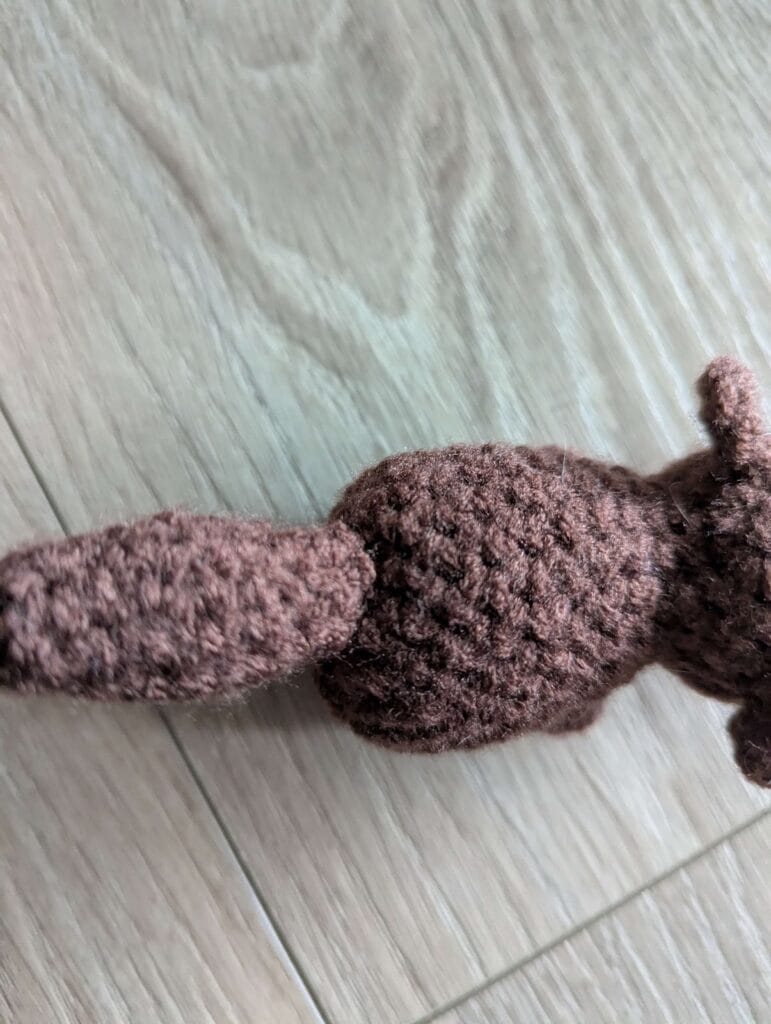
Tail (Dark brown)
- R1: 6 sc in mc (6)
- R2: Sc around (6)
- R3: (Sc, inc) x3 (9)
- R4–6: Sc around (9) x3
- R7: (Sc, dec) x3 (6)
- R8: Sc around (6)
- Fasten off, stuff lightly, and sew to the bum.
Assembly
- Attach safety eyes between R8–9 (about 4–5 stitches apart).
- Sew ears to the top of the head.
- Attach paws to the body (front paws slightly lower).
- Sew tail to the back.
- Embroider a nose & whiskers (optional).
Tips for Beginners
Magic Circle Help: If it’s tricky, chain 2 and work the first round into the first chain.
Stuffing: Firmly stuff the body but keep paws and tail lightly filled.
Safety Eyes: Place them before closing the head for best positioning.